

Firewall Installation
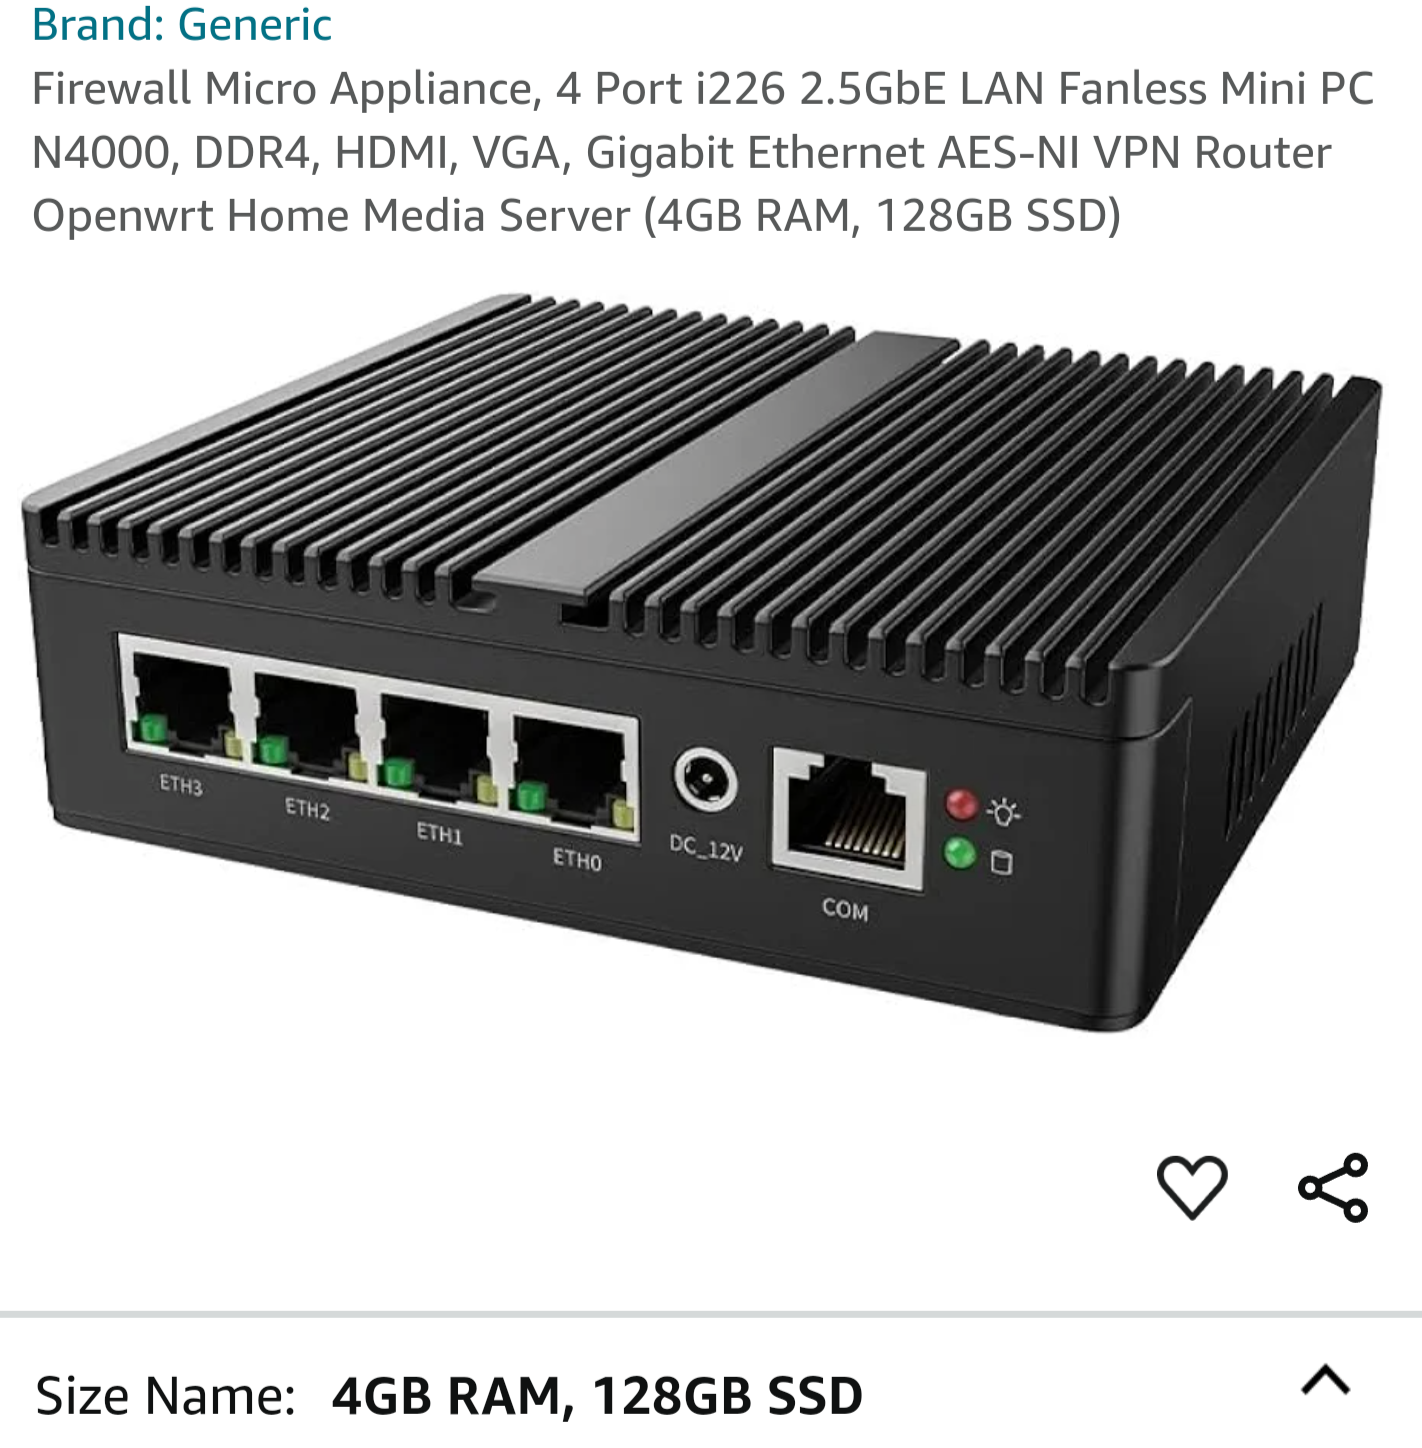
As mentioned in Part 1 I will be using OPNSense as the Firewall distribution running on the Micro PC.
Installing OPNSense
-
Download the ISO from https://opnsense.org/download/, I am going to be using the serial version
-
Check the Download matches the checksum
$ sha256sum OPNsense-25.1-serial-amd64.img.bz2
57c05e935790f9b2b800a19374948284889988741cfbaf6fae7600f7a4451022  OPNsense-25.1-serial-amd64.img.bz2
-
Use
bzip2to decompress the download and thenddto write to USB using a block side of16k# bzip2 -d OPNsense-25.1-serial-amd64.img.bz2 # dd if=OPNsense-25.1-serial-amd64.img of=/dev/sdg bs=16k status=progress 2019098624 bytes (2.0 GB, 1.9 GiB) copied, 1 s, 2.0 GB/s 162294+1 records in 162294+1 records out 2659035648 bytes (2.7 GB, 2.5 GiB) copied, 1.31927 s, 2.0 GB/s -
Okay, that was a bit quick..... lets make sure everything is written using
sync# sync -
Checking
fdiskto see the partitions written# sudo fdisk -l /dev/sdg GPT PMBR size mismatch (5193428 != 123699199) will be corrected by write. The backup GPT table is not on the end of the device. Disk /dev/sdg: 58.98 GiB, 63333990400 bytes, 123699200 sectors Disk model: USB Flash Drive Units: sectors of 1 * 512 = 512 bytes Sector size (logical/physical): 512 bytes / 512 bytes I/O size (minimum/optimal): 512 bytes / 512 bytes Disklabel type: gpt Disk identifier: Device Start End Sectors Size Type /dev/sdg1 34 66617 66584 32.5M EFI System /dev/sdg2 66618 66739 122 61K FreeBSD boot /dev/sdg3 66740 67763 1024 512K FreeBSD swap /dev/sdg4 67764 5193395 5125632 2.4G FreeBSD UFS -
As I am using the
serial installationI will connect my serial cable upto thecomport and then usescreento connectsudo screen -L /dev/ttyUSB0 115200 -
With the serial connected we will boot from the USB, to do this we will jump into the bios and use
boot override. -
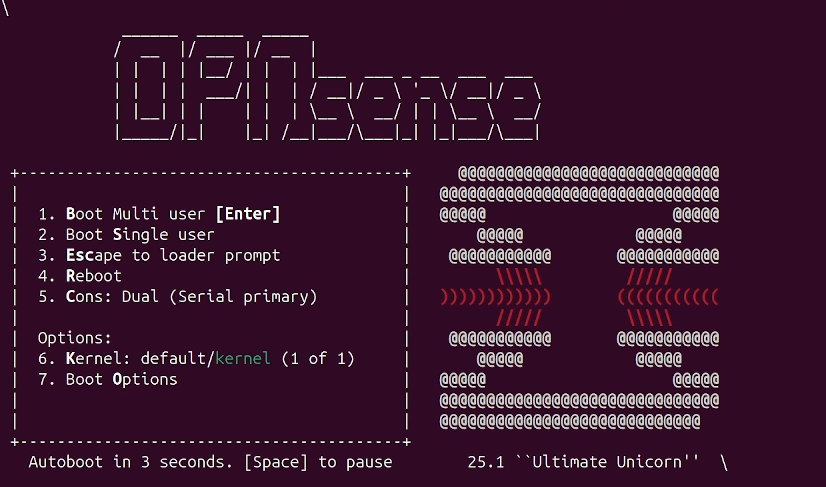
When we get to the boot menu we will just let the time count down and take the default boot.
______ _____ _____ / __ |/ ___ |/ __ | | | | | |__/ | | | |___ ___ _ __ ___ ___ | | | | ___/| | | / __|/ _ \ '_ \/ __|/ _ \ | |__| | | | | | \__ \ __/ | | \__ \ __/ |_____/|_| |_| /__|___/\___|_| |_|___/\___| + + @@@@@@@@@@@@@@@@@@@@@@@@@@@@ -|--------------------------------------- | @@@@@@@@@@@@@@@@@@@@@@@@@@@@@@ | 1. Boot Multi user [Enter] | @@@@@ @@@@@ | 2. Boot Single user | @@@@@ @@@@@ | 3. Escape to lo | @@@@@@@@@@@ @ ader4. Reboot | \\\\\ ///// | 5. Cons: Dual (Serial primary) | )))))))))))) ((((((((((( | | ///// \\\\\ | Options: | @@@@@@@@@@@ @@@@@@@@@@@ | 6. Kernel: default/kernel (1 of 1) | @@ @|@ 7. Boot Options@ | @@@@@ @@@@@ | | @@@@@@@@@@@@@@@@@@@@@@@@@@@@@@ | | @@@@@@@@@@@@@@@@@@@@@@@@@@@@ +-----------------------------------------+ Autoboot in 0 seconds. [Space] to pause ``` -
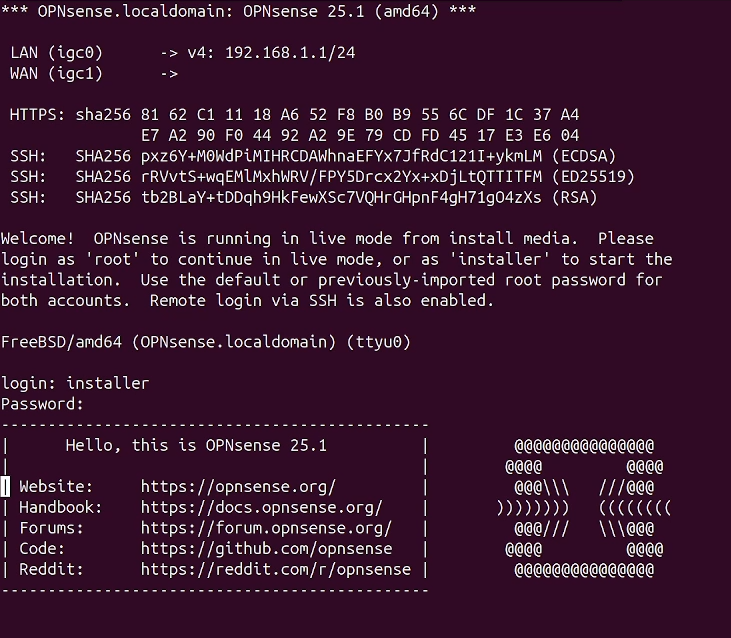
We will just let OPNSense auto detect the interfaces for now
Press any key to start the manual interface assignment: 10 -
To begin the OPNSense installation we need to login as
installerandopnsense
-
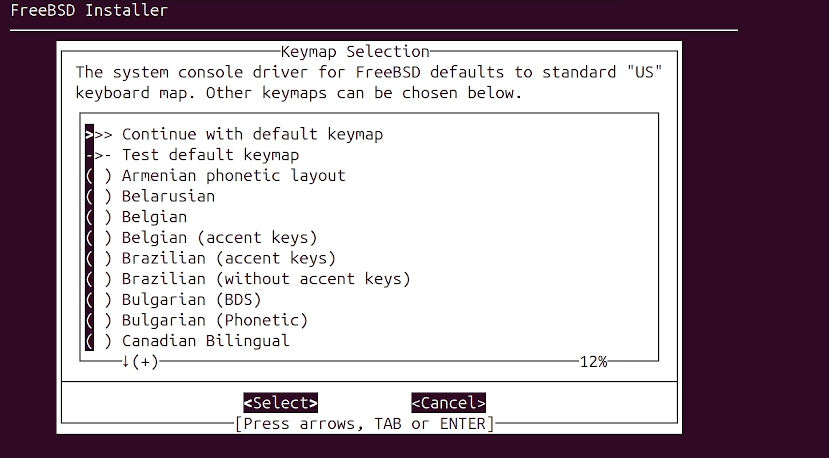
This will kick off the installer wizard. We will use the default keymap
-
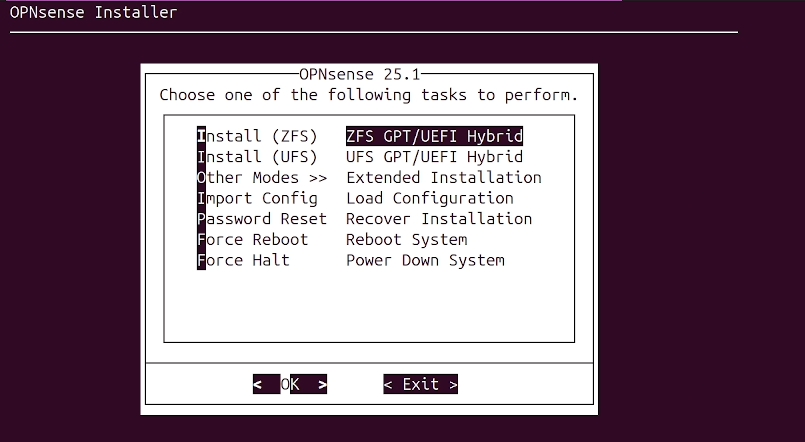
We will use
ZFSas the filesystem which is the default
-
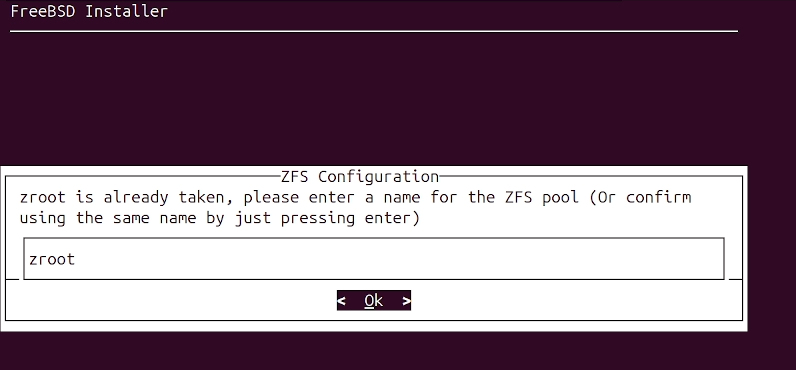
We will keep the default pool name
-
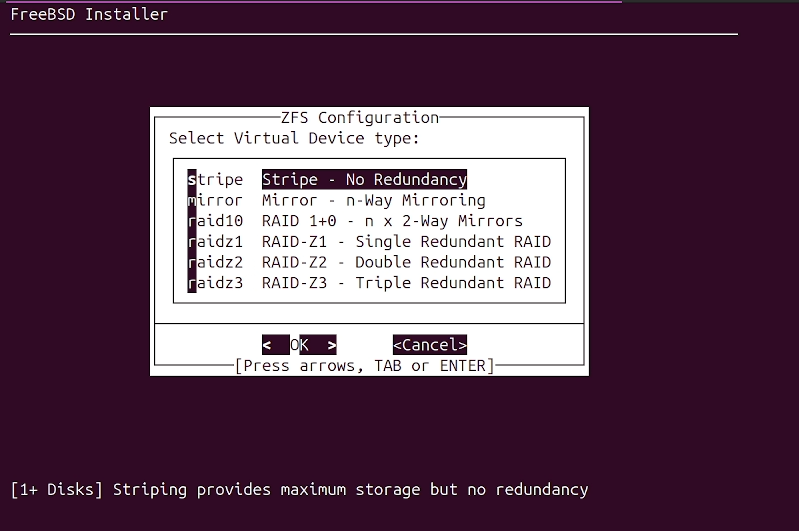
We only have a single drive so we will leave the
ZFSconfiguration asstripe
-
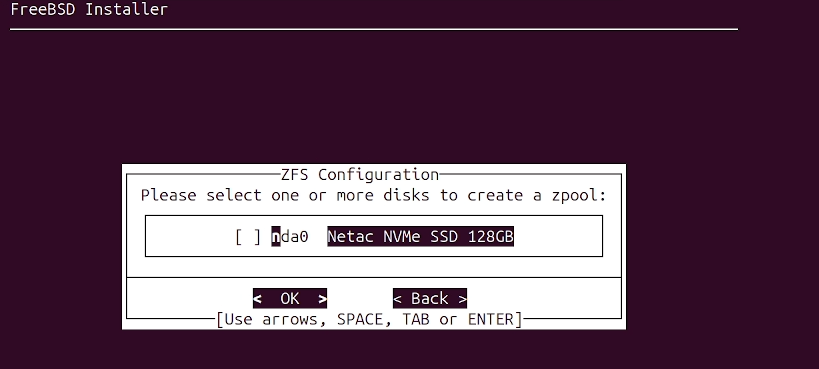
We will use
[space bar]to select theNVMedrive and select[OK]
-
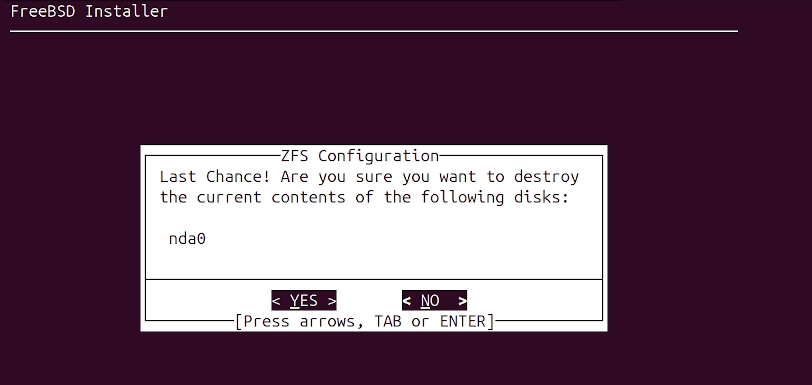
We will confirm we want to install
-
The installation will now begin
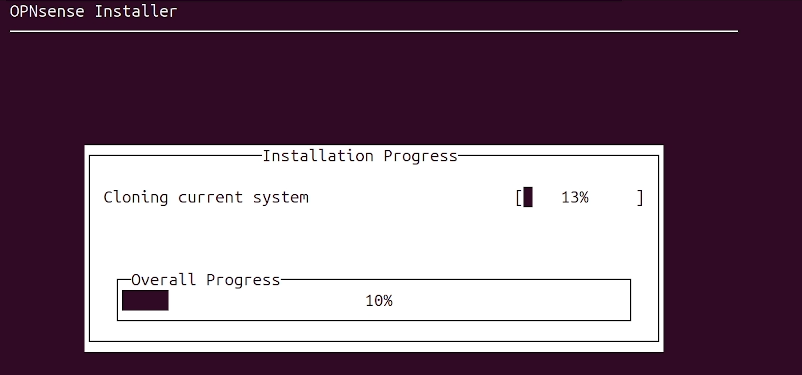
-
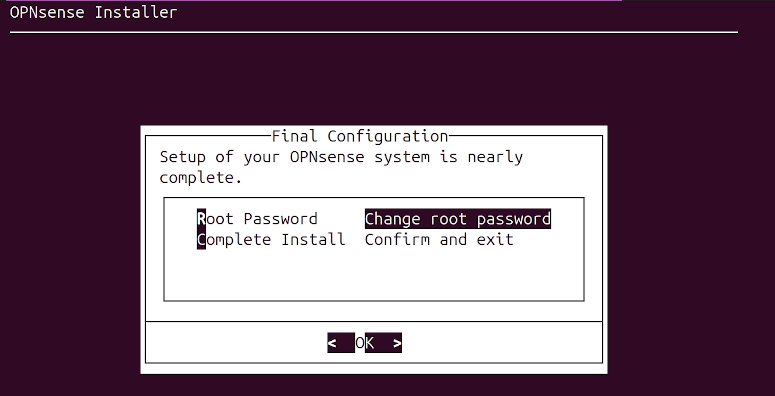
For now we will just
complete install
-
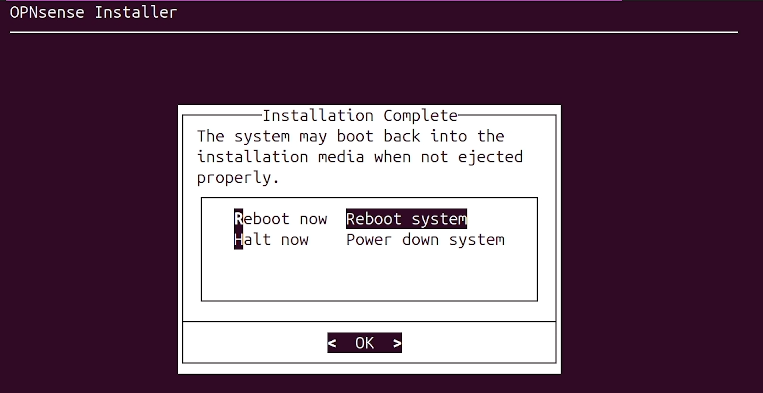
We will
haltthe system and then remove the USB and boot back up
-
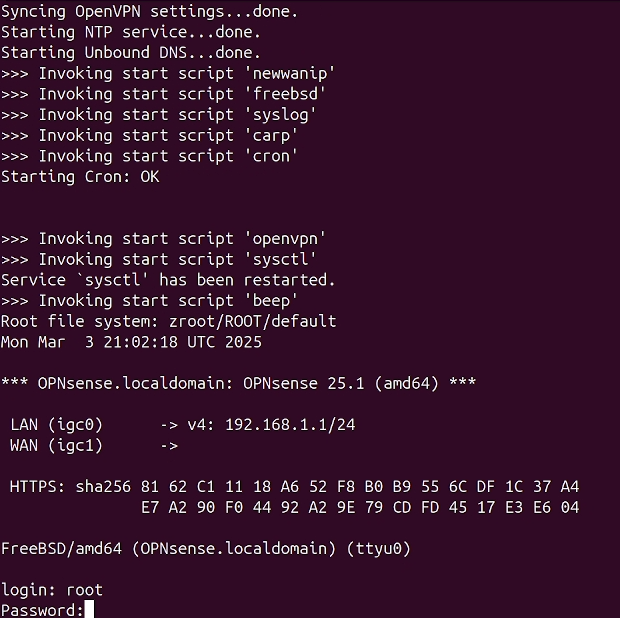
After confirm boot sequence in bios is set correctly we will let the system boot
Configuring OPNSense
-
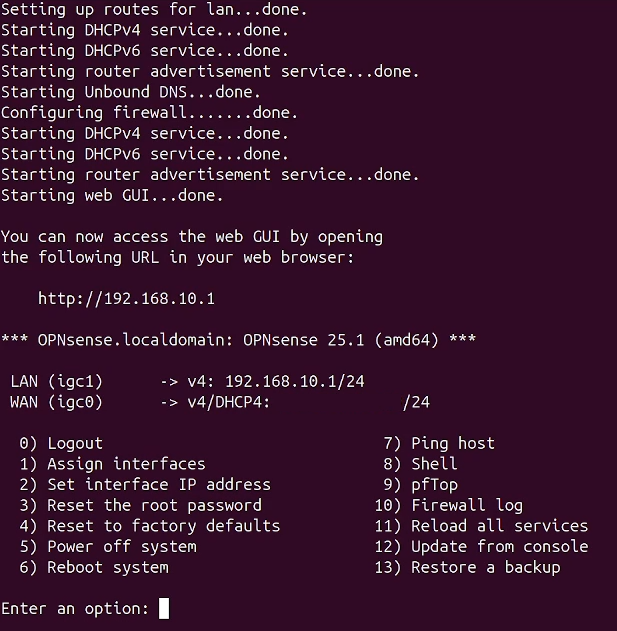
We can then login as
rootand the default passwordopnsense
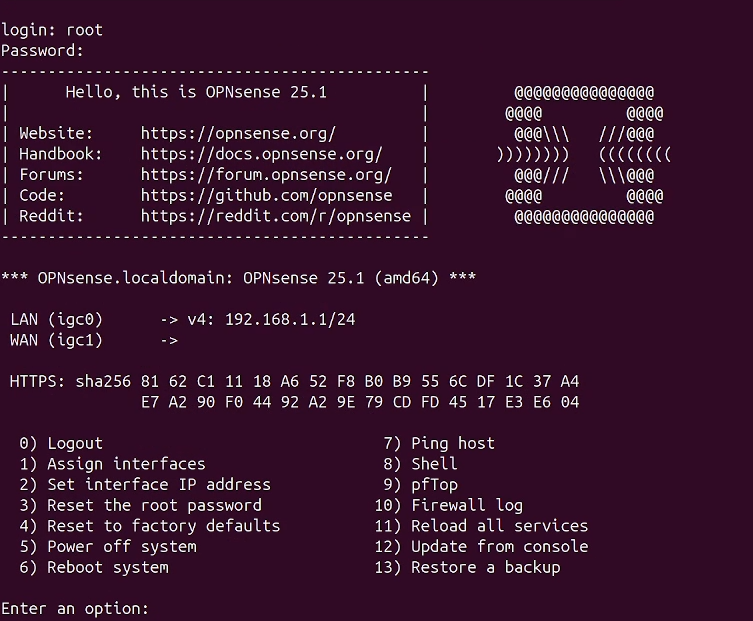
-
We will select option
1and configure interfaces
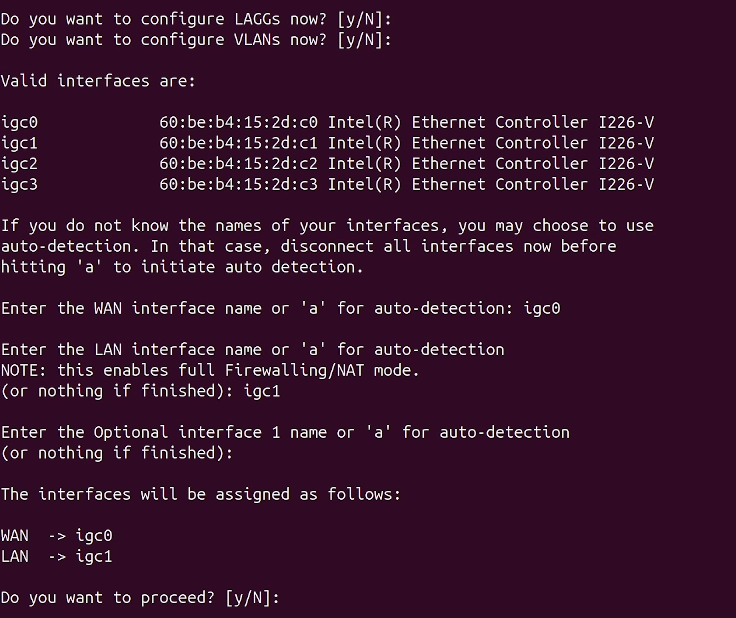
-
We will use
igc0for WAN andigc1for LAN
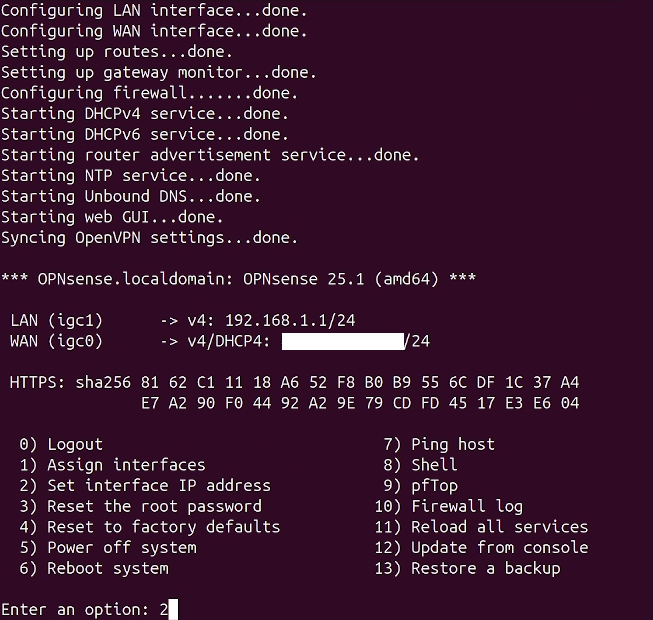
-
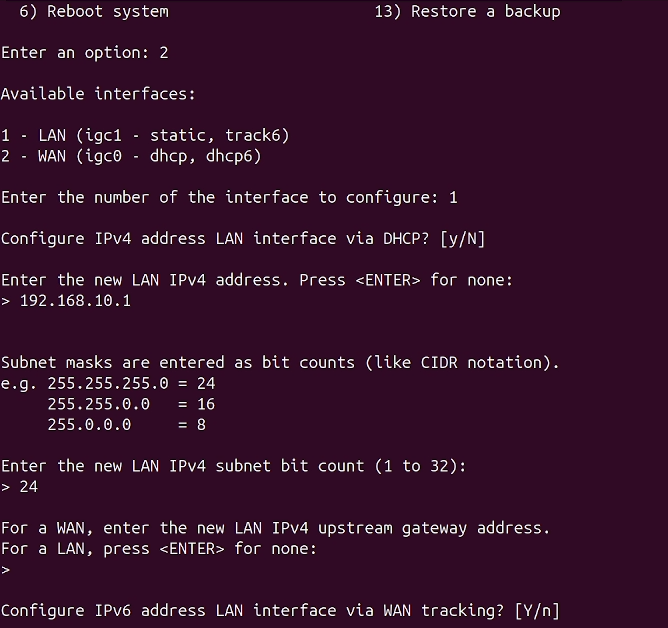
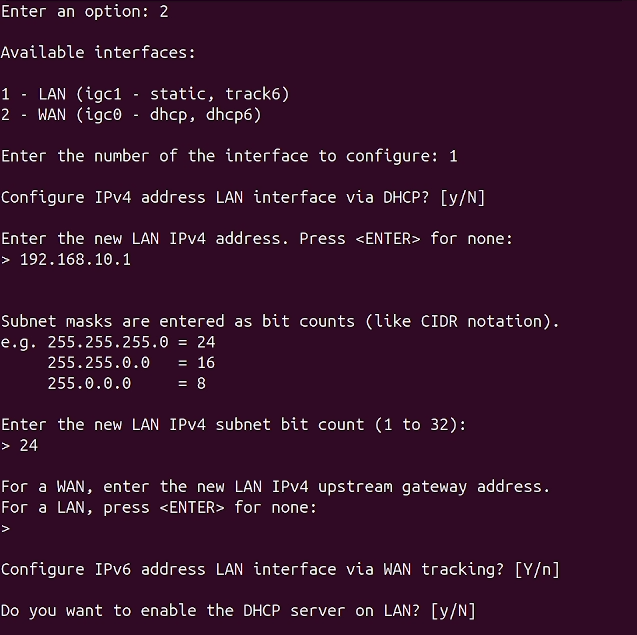
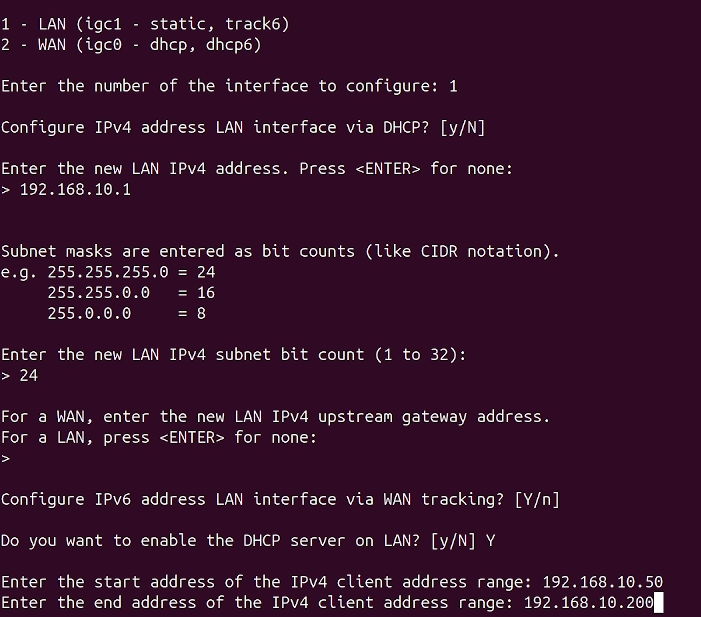
Now we have the interfaces assigned correctly we configure
igc1with a static IP Address and configureDHCP
-
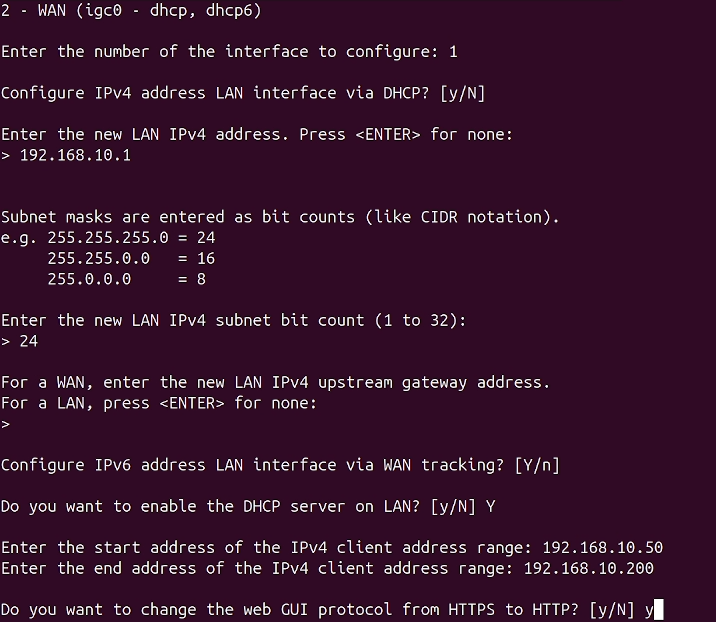
We will switch to
HTTPfor the Web GUI and restore access

-
We can now log into the Web Interface using the static IP assigned to
igc1
-
Opening the Web Interface we get the wizard
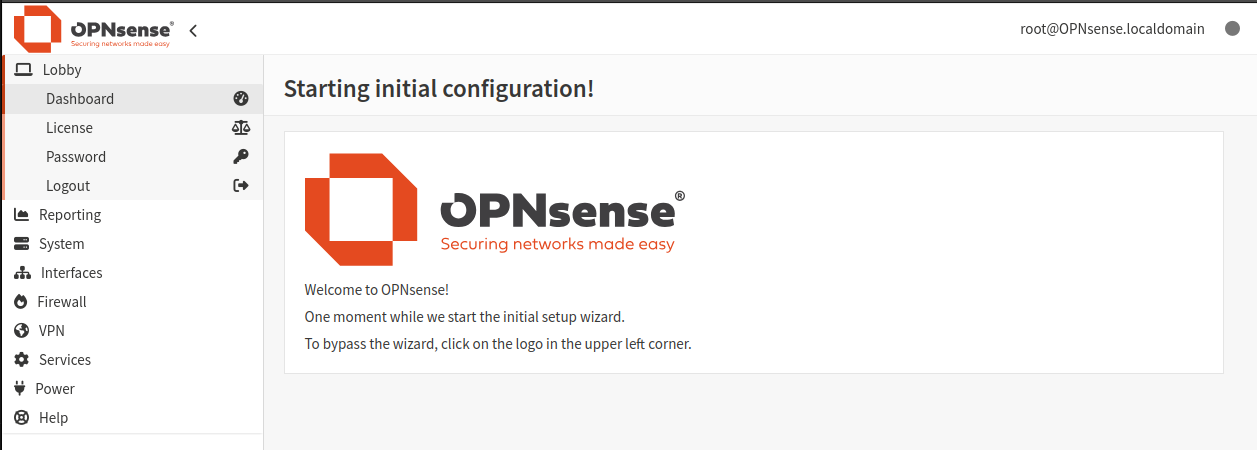
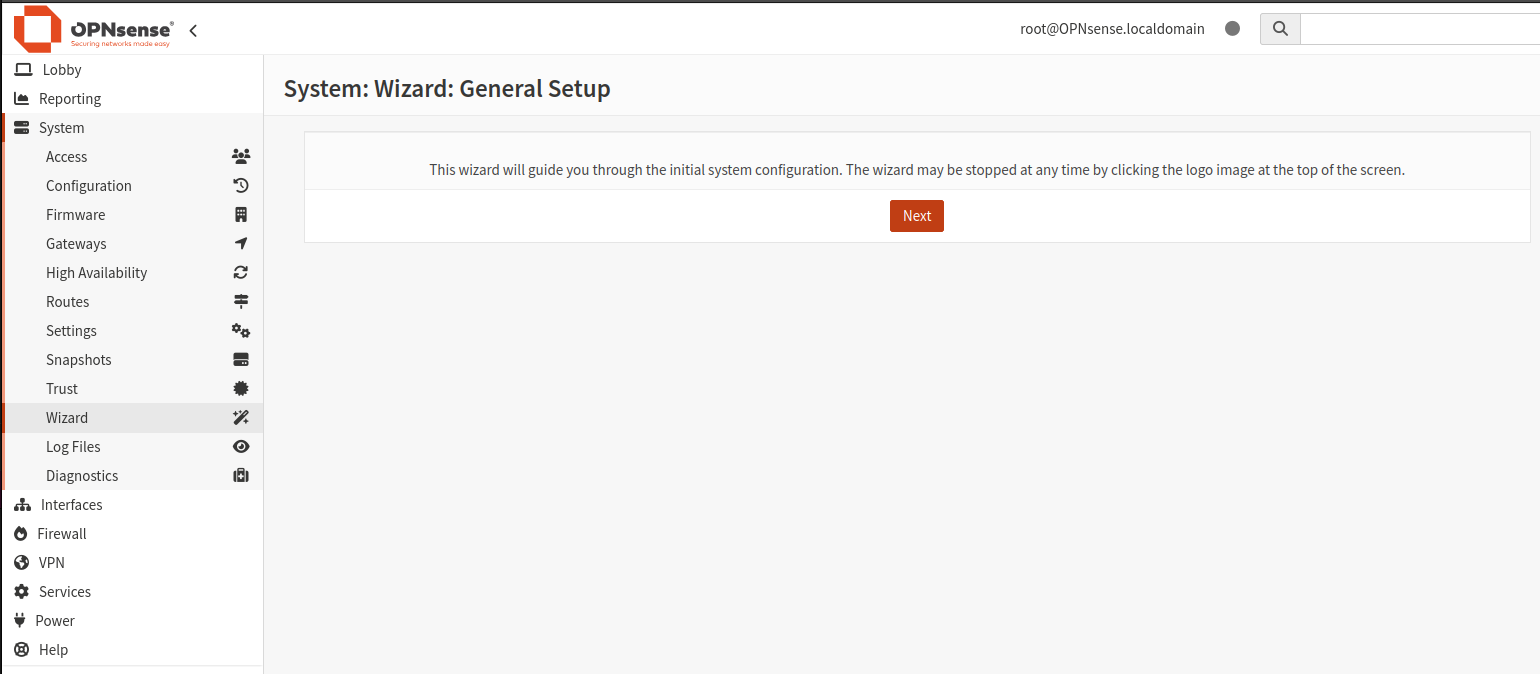
-
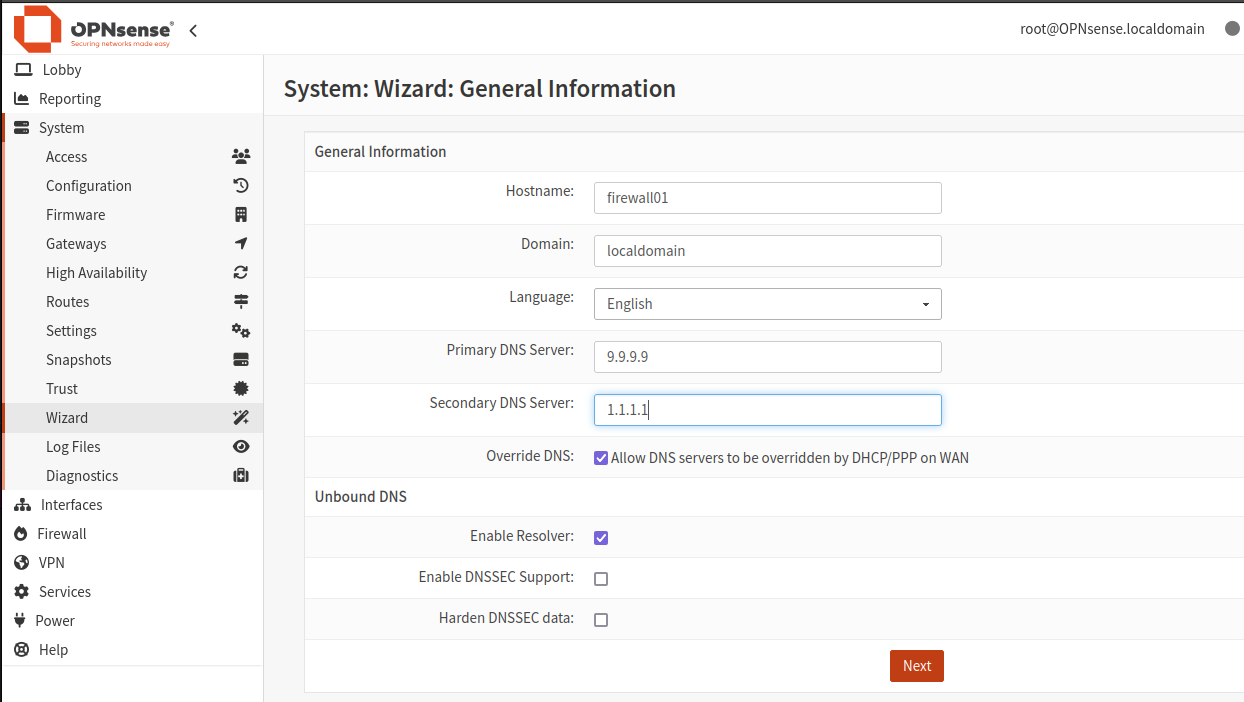
We can now name our firewall and set the DNS settings.
-
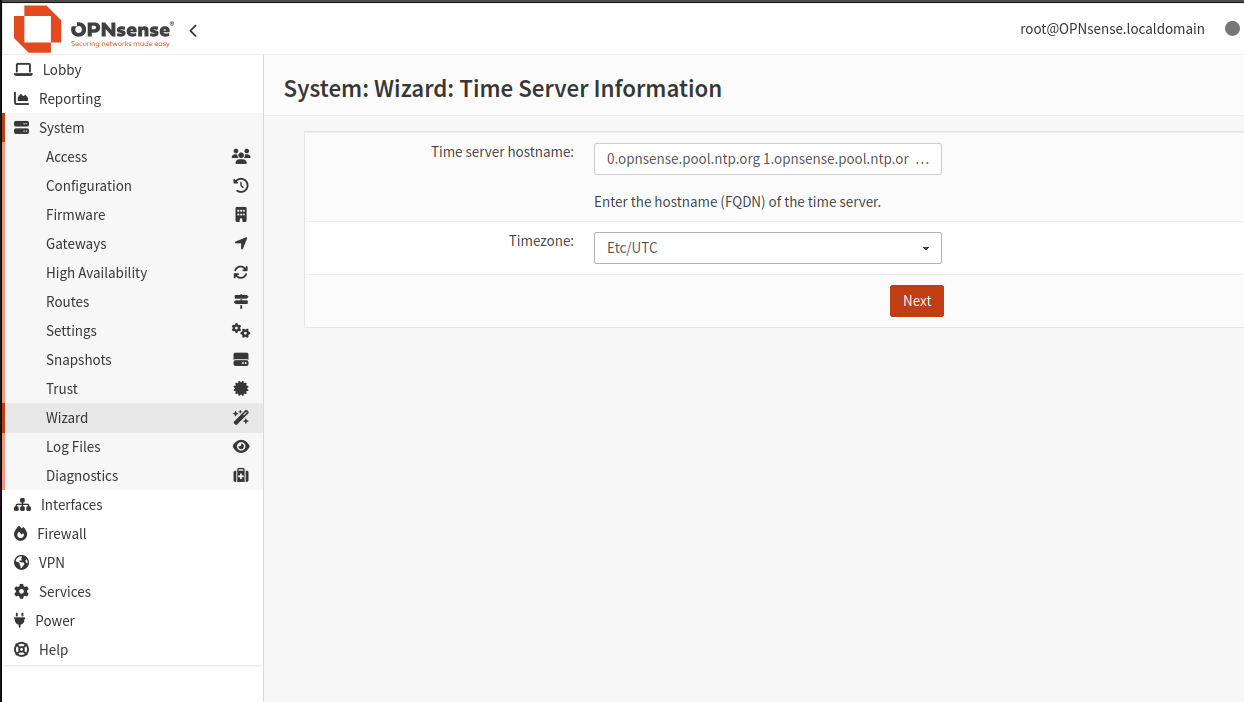
We can leave the NPT servers at default and choose our timezone.
-
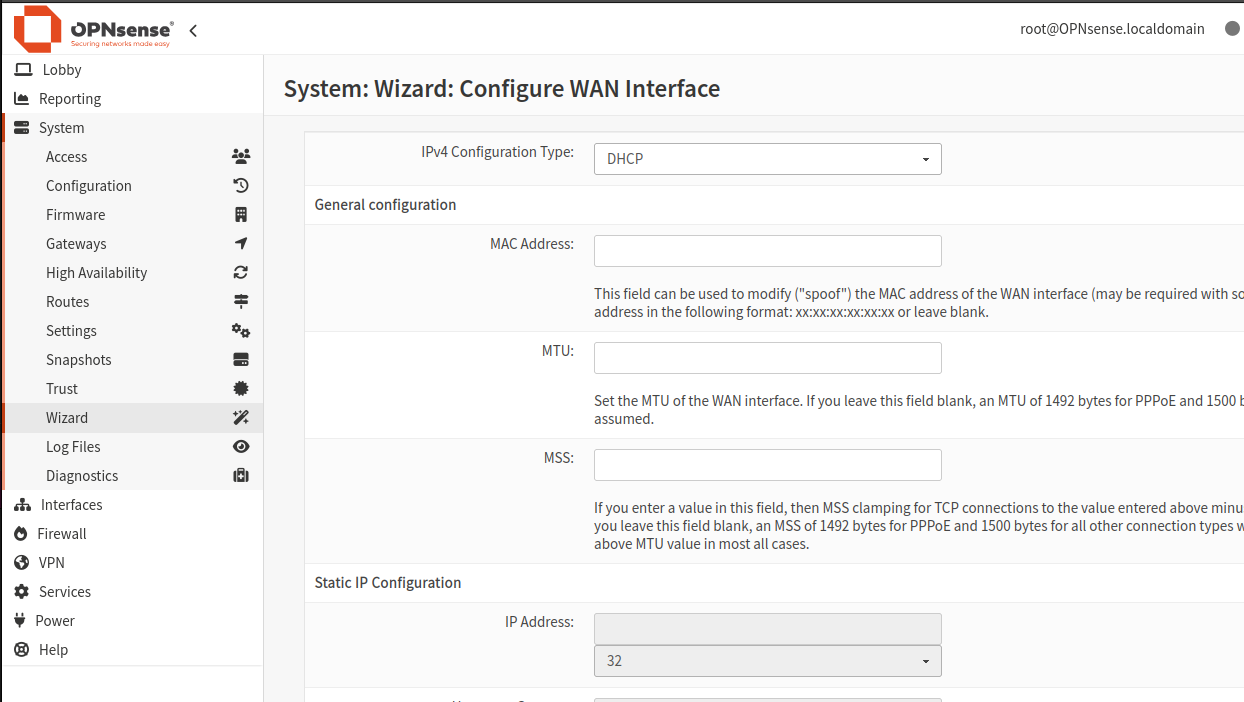
We now go through the interface again, here you can make changes if needed

-
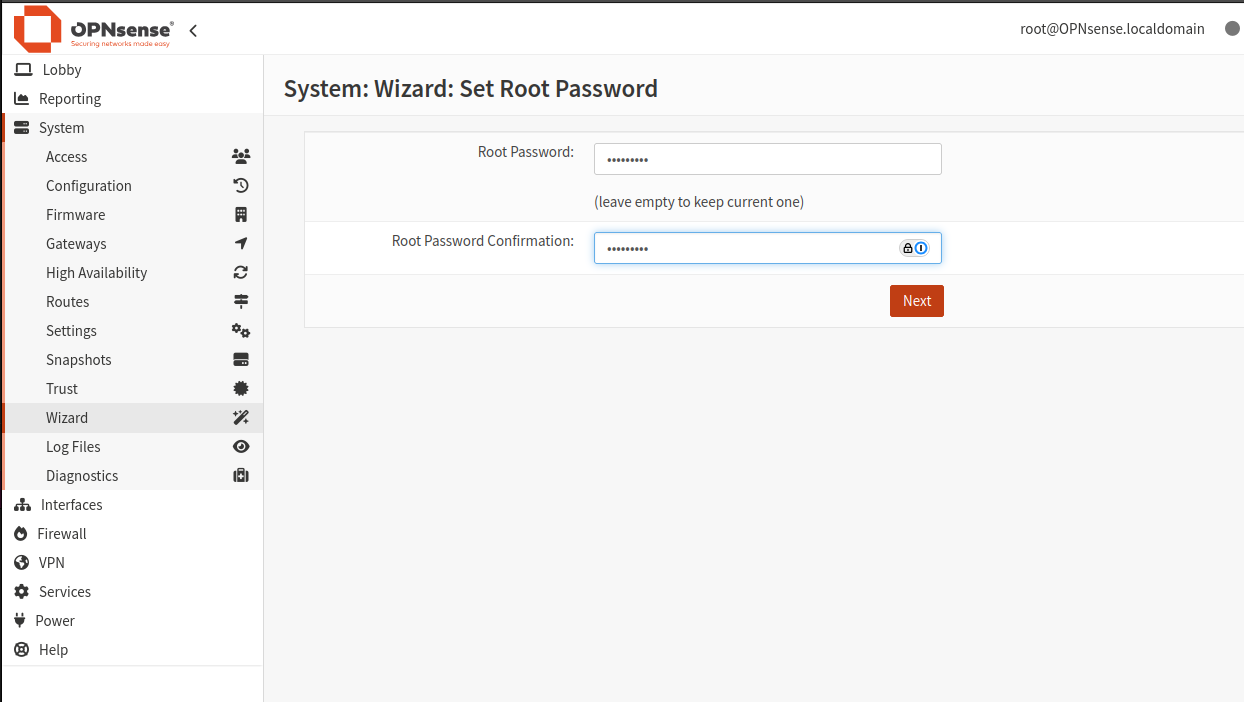
We can now update the password, set this to something secure and make a note.
-
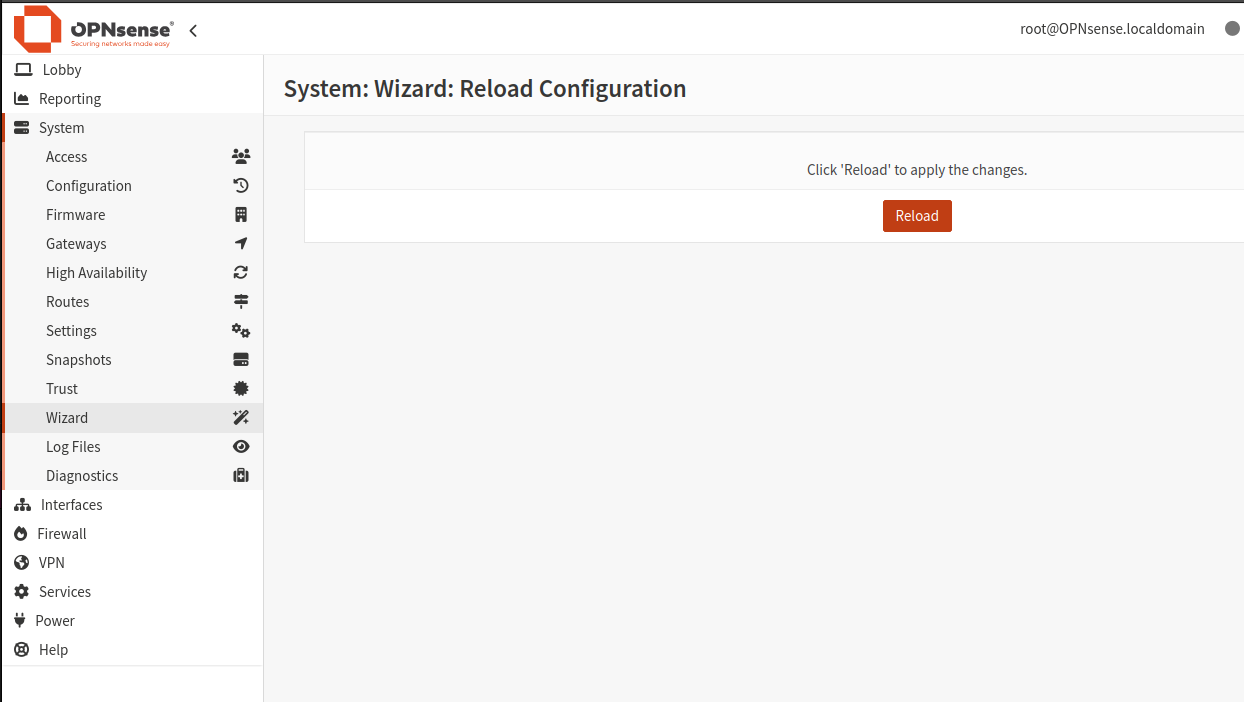
With the wizzard complete we can now reboot into our OPNSense install.
-
Once rebooted we can log back in
-
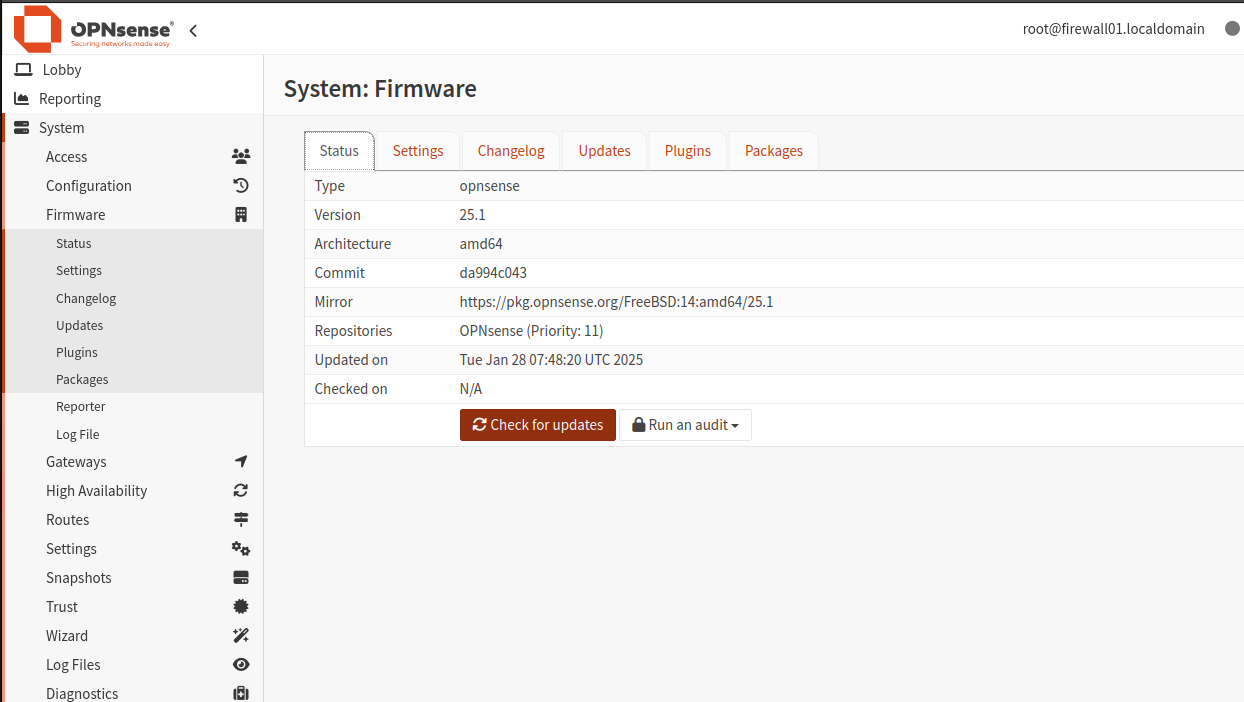
The final step is to update the firmware to make sure we are running the latest version. Select
System > Firmware < Statusand clickcheck for upgrades
-
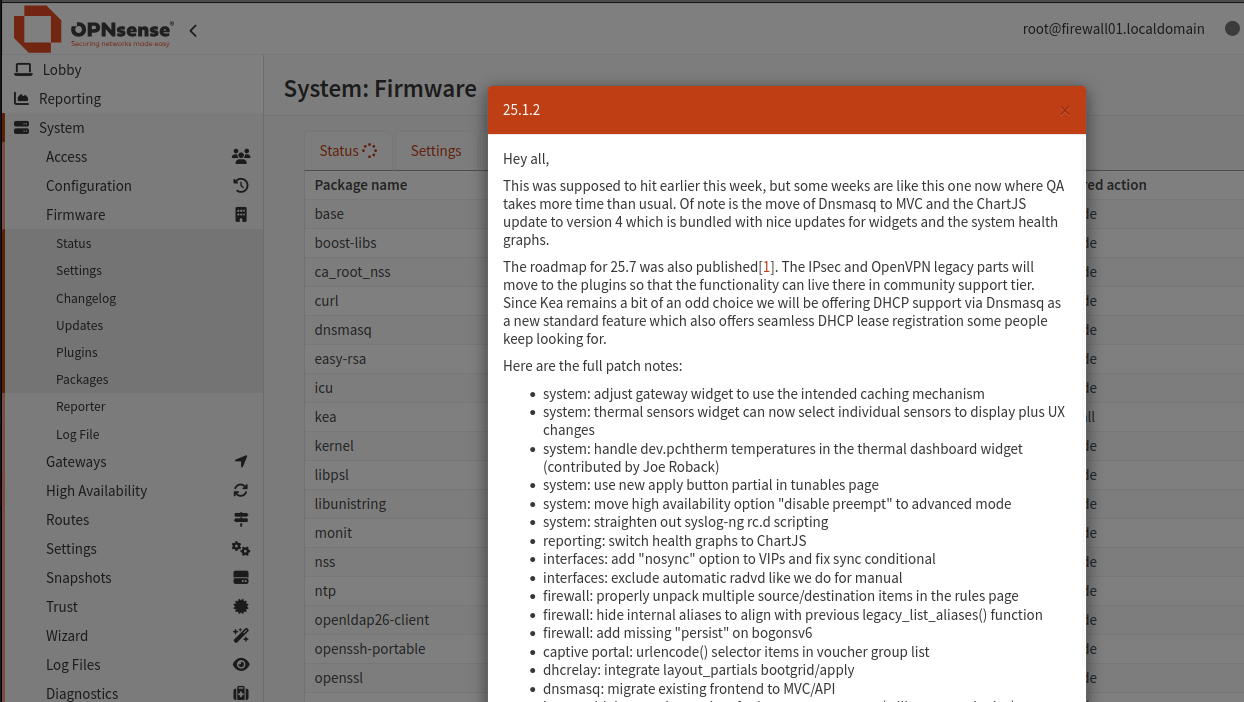
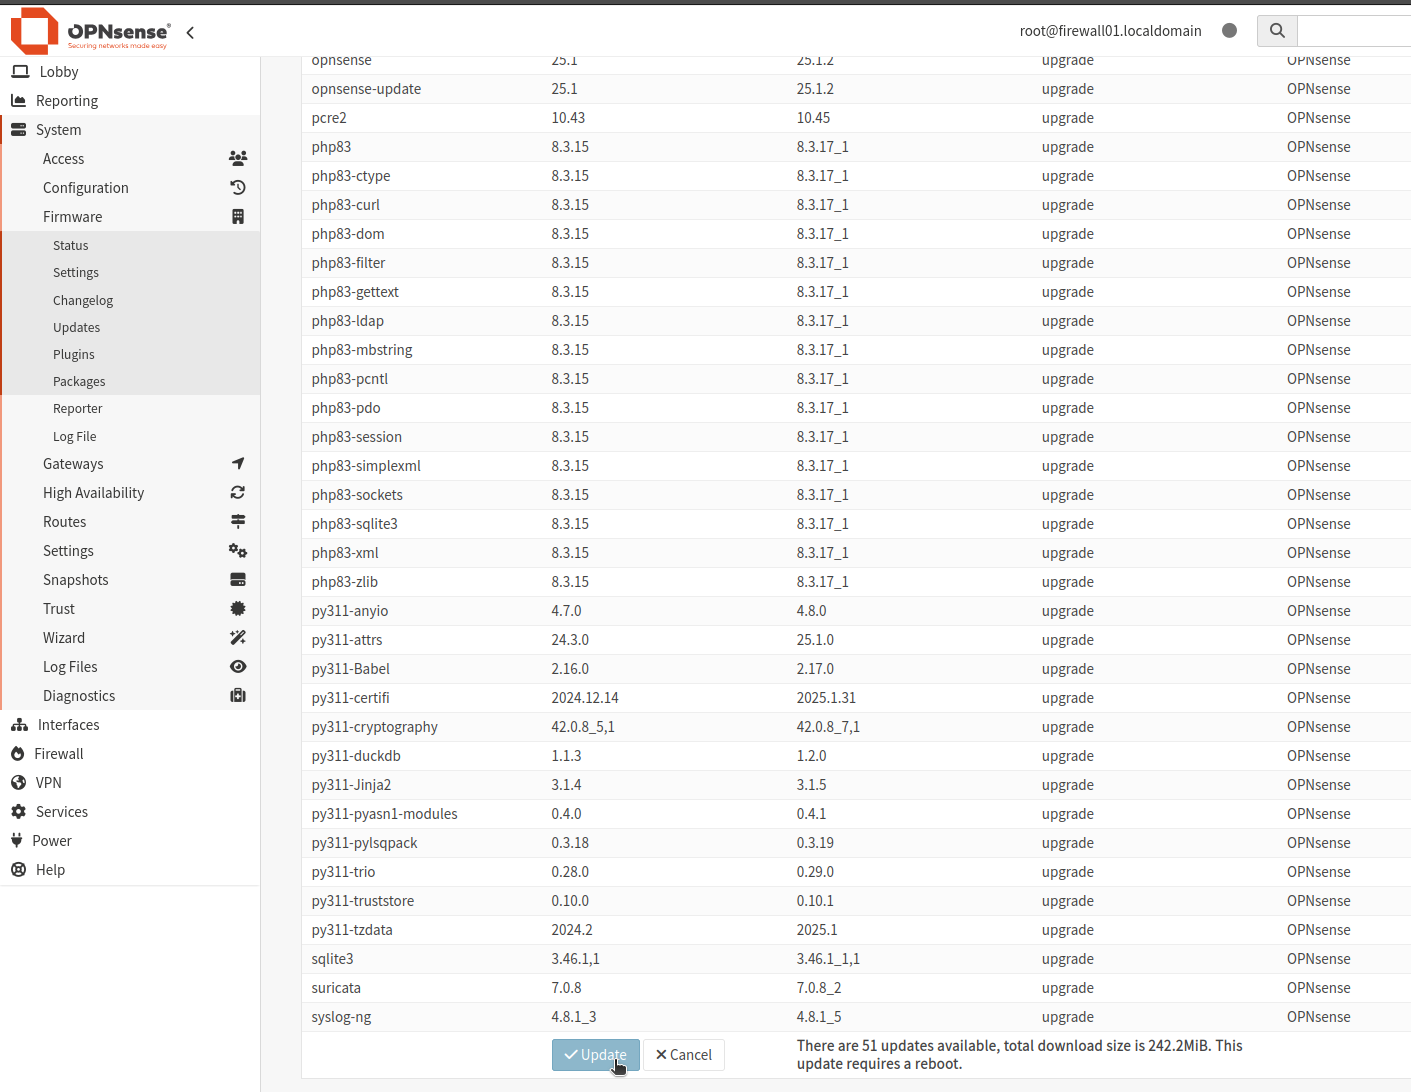
We will now get some blurb about the latest version, dismiss this then scroll down to the bottom and click
update

-
Once the update is complete the firewall will reboot into the new version.
OPNSense Firewall Video
Below is a quick video to show the installation steps.