

This is a quick write up of how to install Oxidized under Ubuntu Linux. In Part #1 we will install Ubuntu, in Part #2 we will install and configure Oxidized.
Oxidized is a network device configuration backup tool. It's a RANCID replacement!
For something called Oxidized I really expected this to be writting in rust not ruby 😅.
Installing Ubuntu
- Grab the latest LTS ISO from https://ubuntu.com/download/server#release-notes.
- Either build a Virtual Machine to the minimum spec or write ISO to USB for physical install using balenaEtcher.
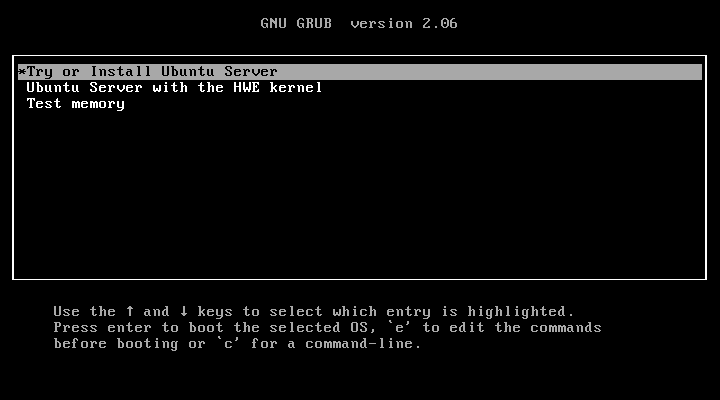
- Boot from the install media and select
Try or Install Ubuntu Server.
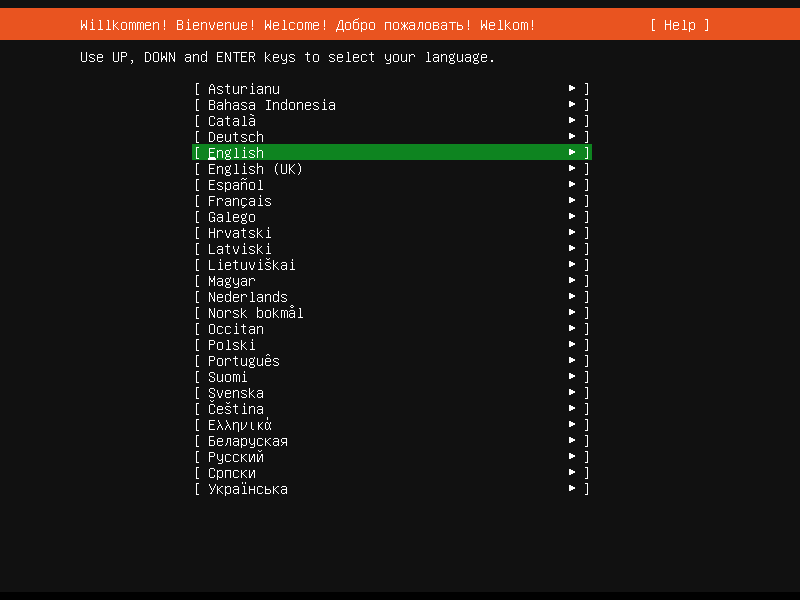
- Select your language.
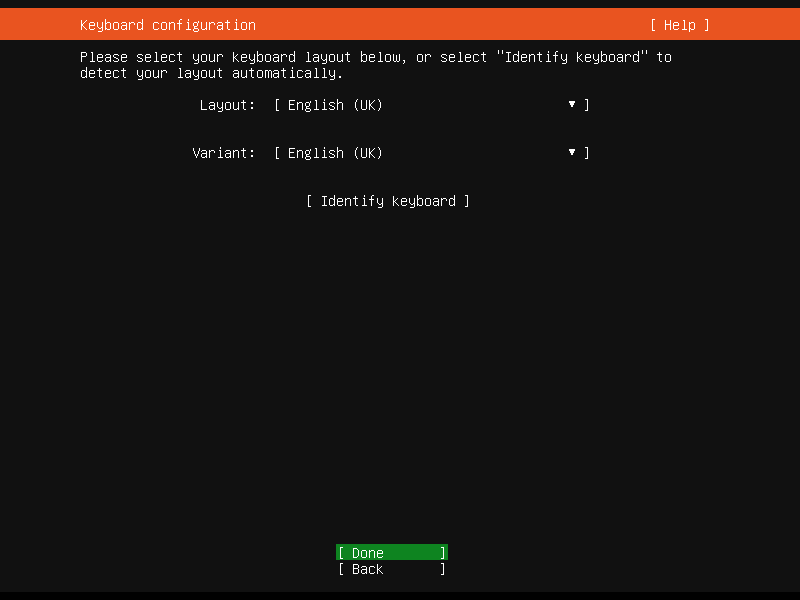
- Confirm keyboard and language settings.
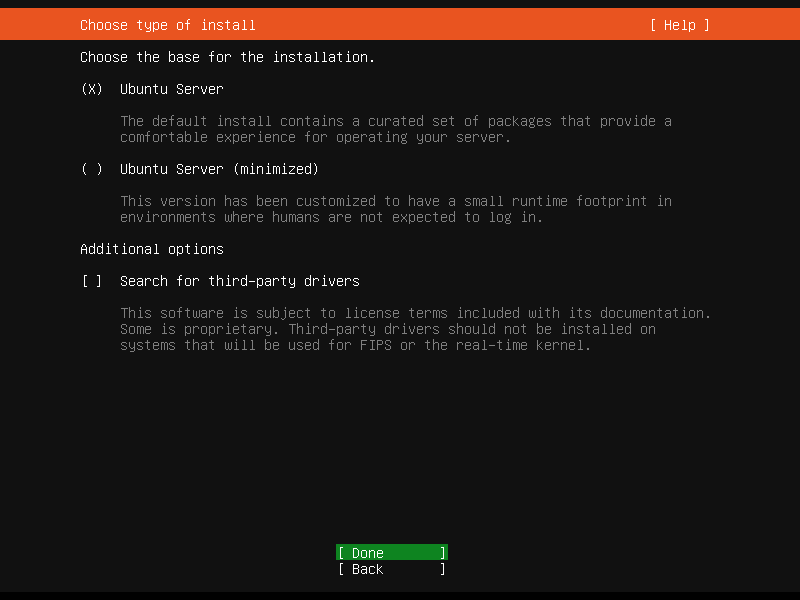
- Select the type of installation you want. To make things easy we will pick
Ubuntu Server, if you know what you are doing you can selectUbuntu Server (minimized). If required you can have the installer search for third-party drivers such Network Cards or GFX cards.
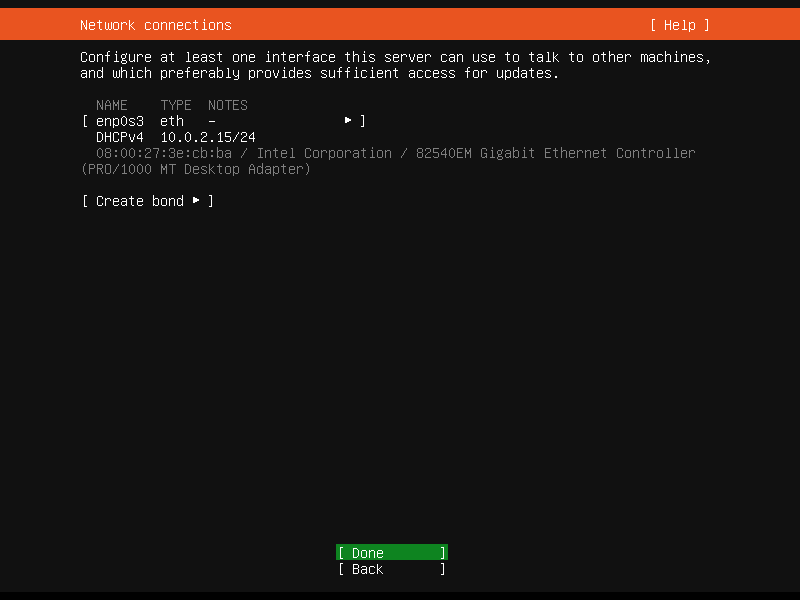
- You can now set a static IP Addtess or use DHCP as required. Once installed this can be changed.
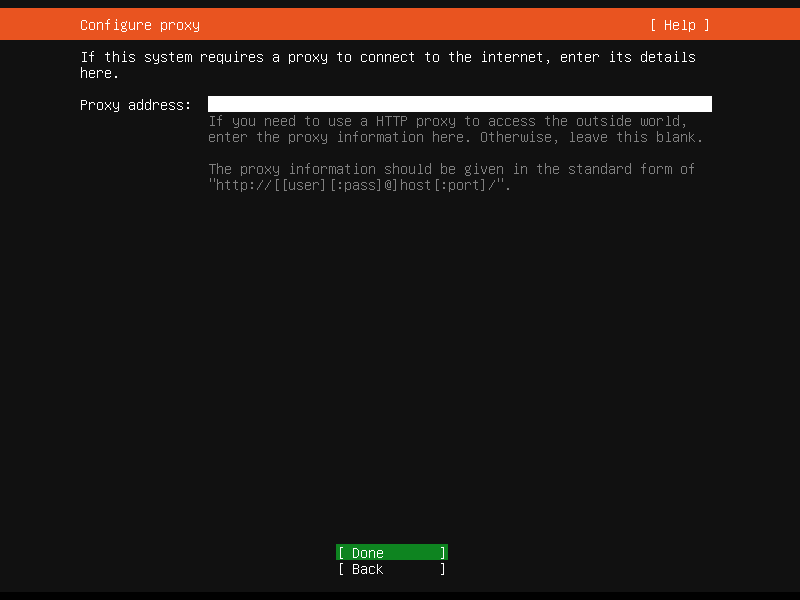
- If you require a proxy server to access the internet you can set it here. If not, just hit
Done.
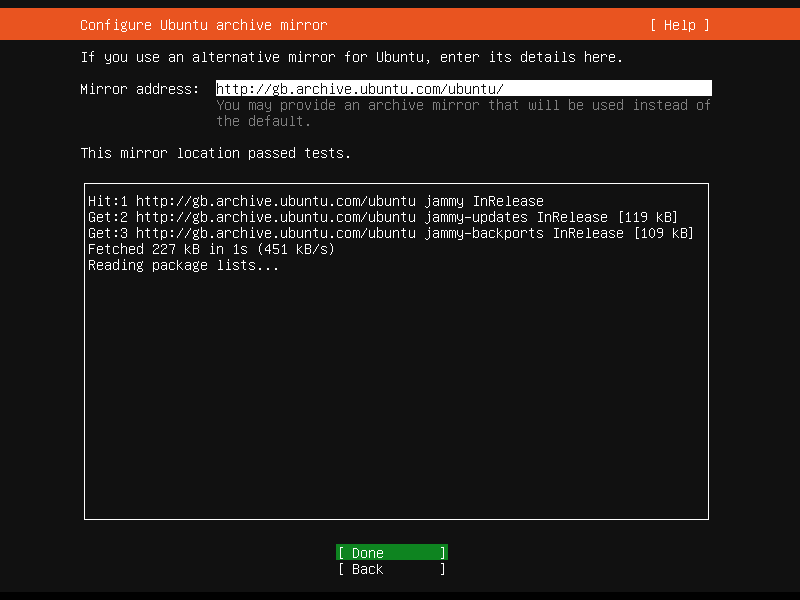
- The installer will now check it can access the mirror (This is where Ubuntu downloads applications & updates from) to download files for installation.
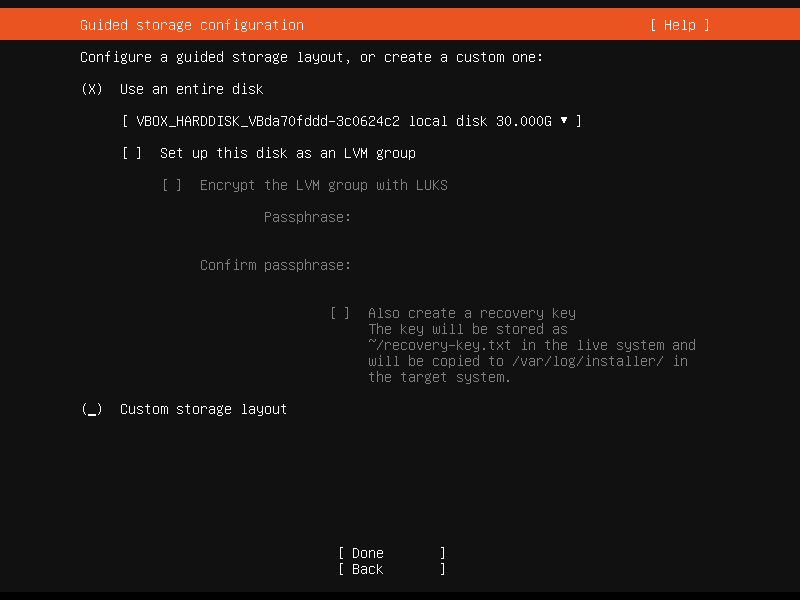
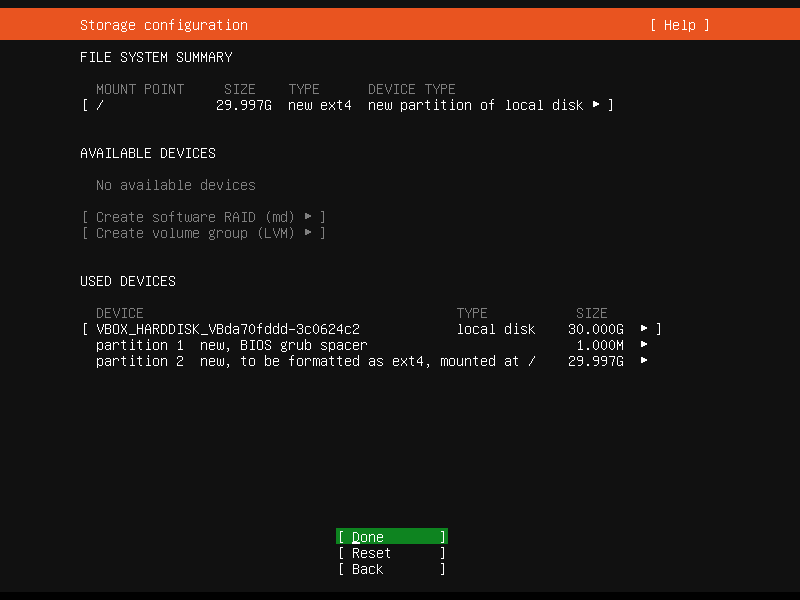
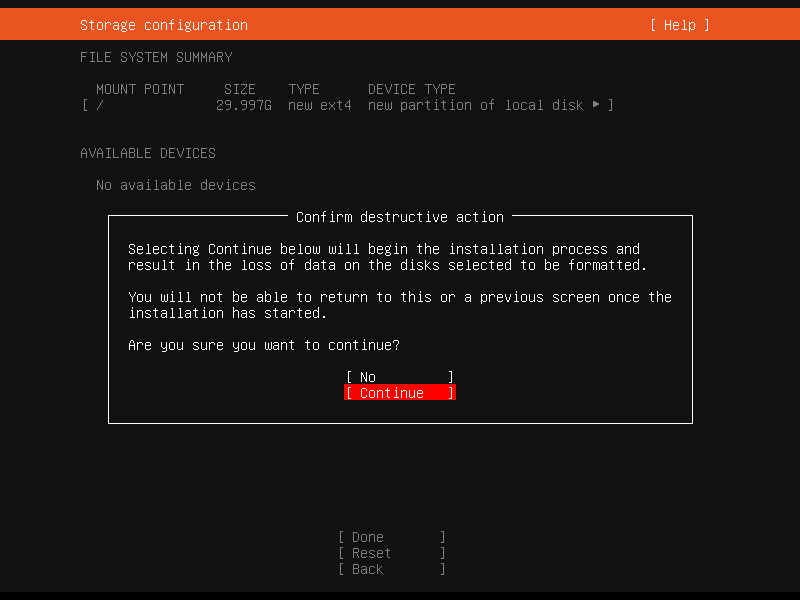
- Now you can setup your disk as required. If you need to encrypt the disk you can use
LVMwithLUKSand set a passphrase. As this is a virtual machine I will just tell the installer to use the whole disk and not use LVM & confirm.
- We will now create a user account and set the servers name. The first user created will have
sudoaccess by default to allow system administration.

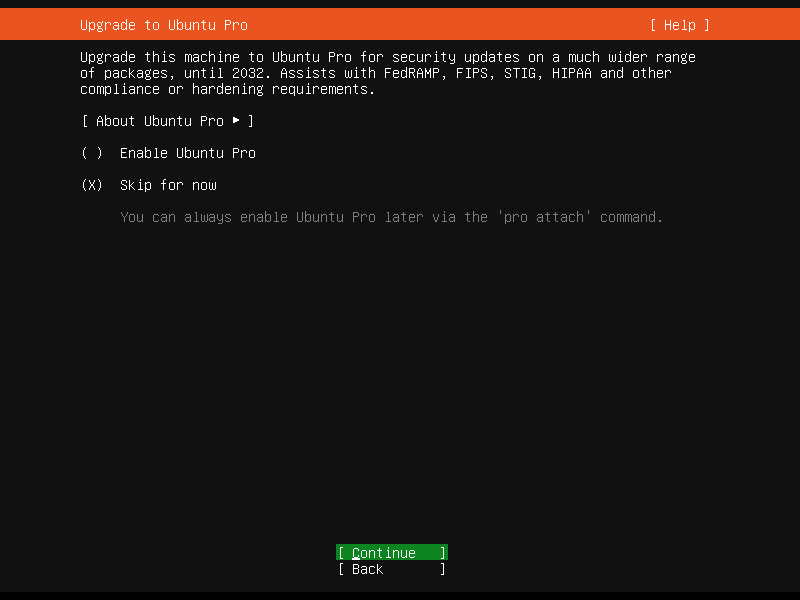
- I will skip
Ubuntu Profor this install
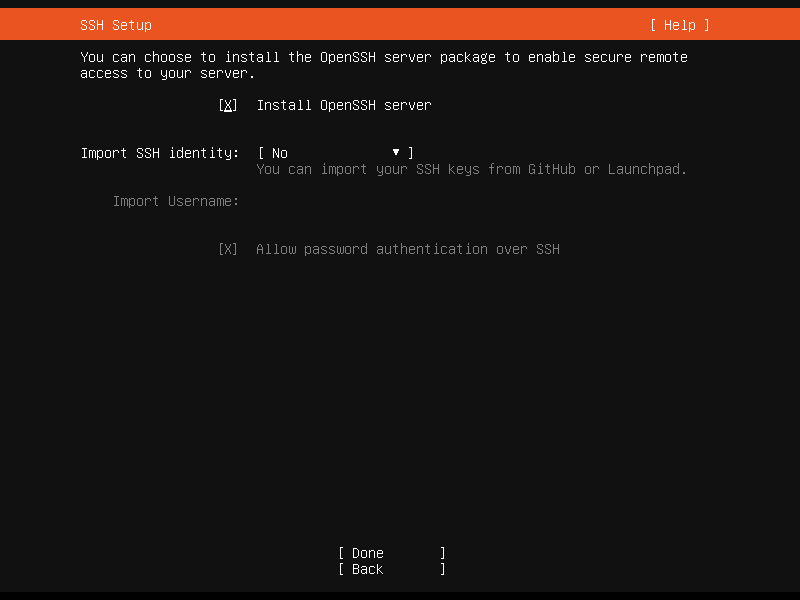
- We will install
OpenSSH server, if you want to importssh-keysform GitHub you can here, otherwise you will need the password previously set to access the server.
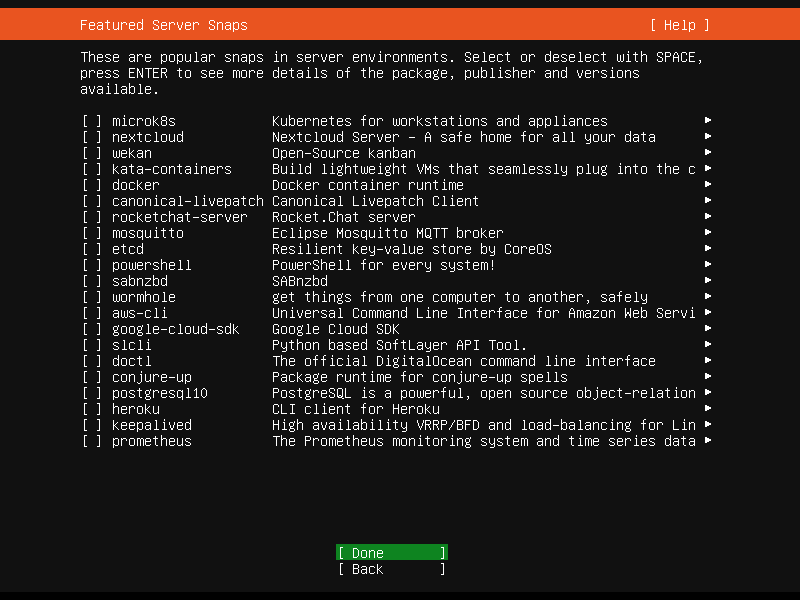
- We can skip the
Feautre Server Snapsas we do not want/need anysnaps.
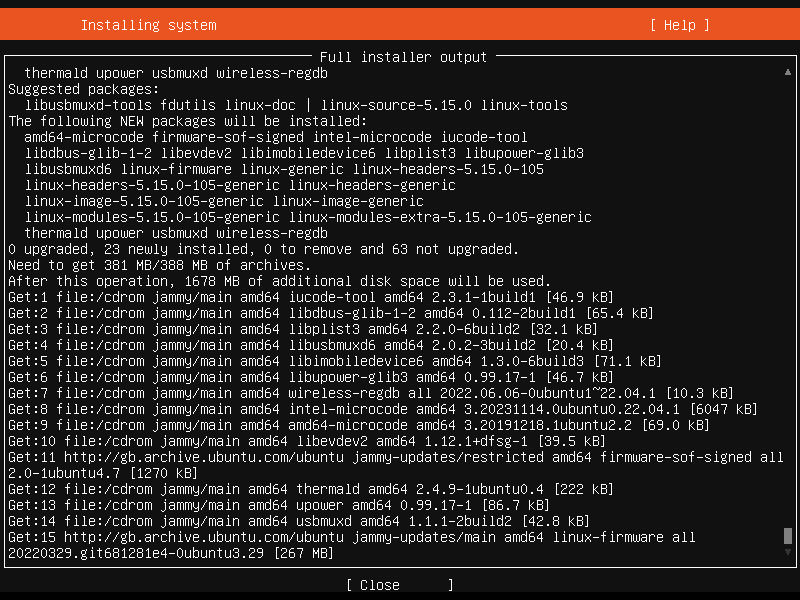
- The installer will now get to work, you can watch the log for what it is doing. This will also install updates, you can skip if you want but better to just leave it run through.

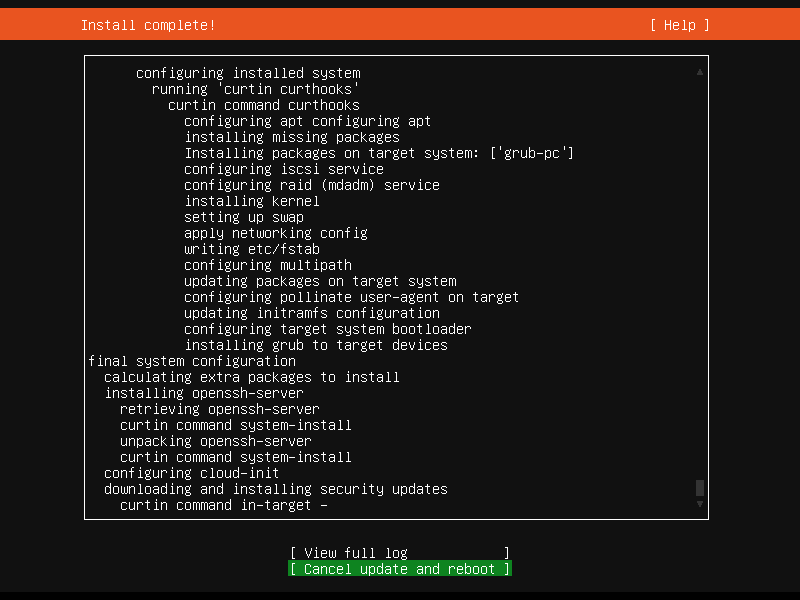
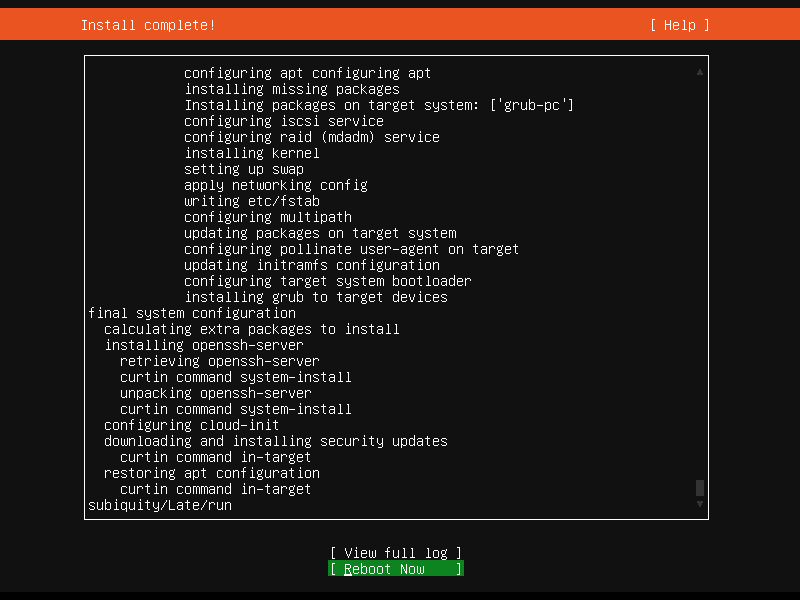
- We can now reboot into our new installation.
Post Installation Bits
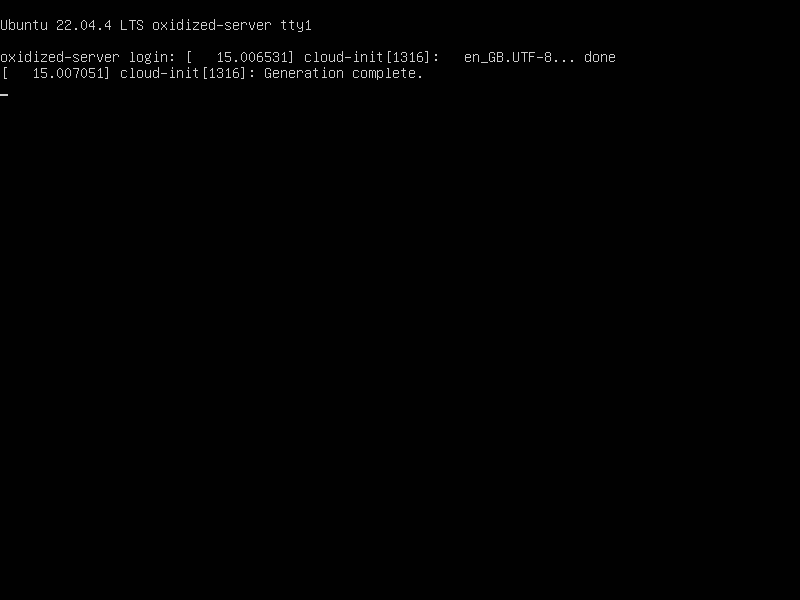
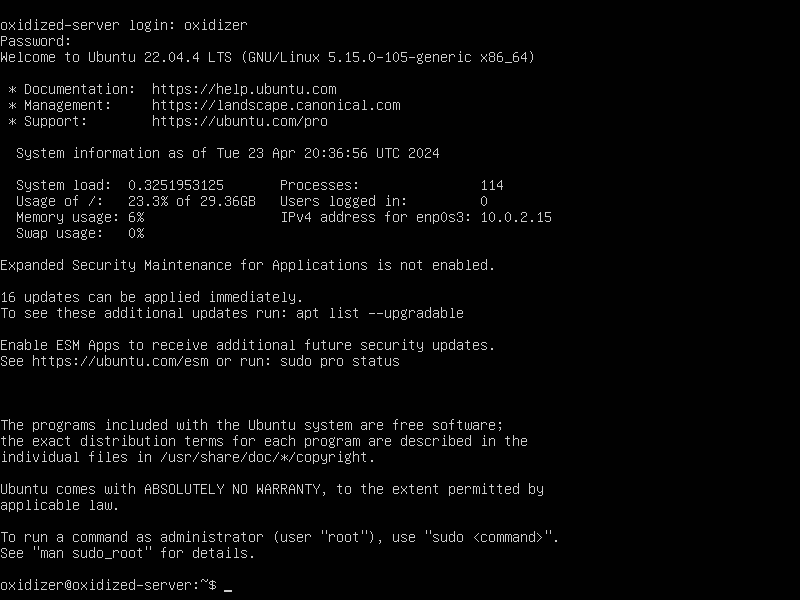
Once rebooted we land at the login prompt.
Using the username/password we set we can login.
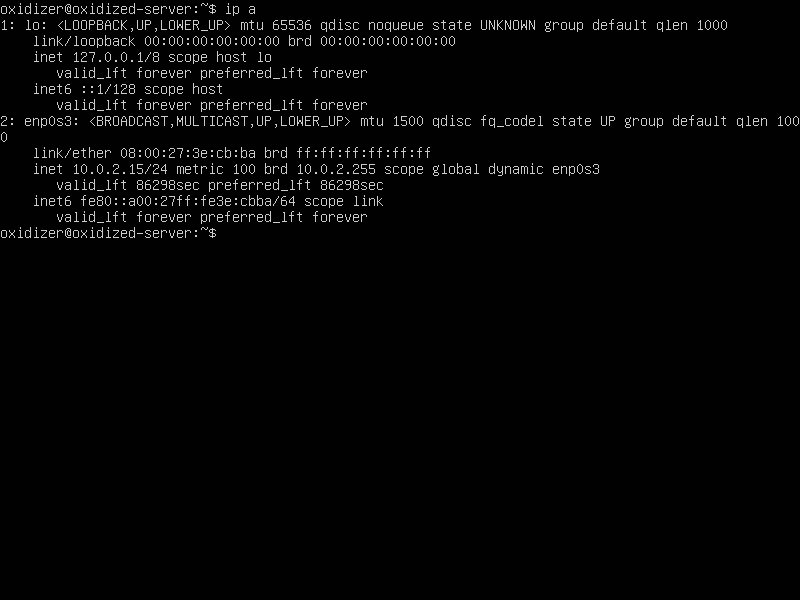
We can use ip a to confirm the IP Address of the server.
Passwordless sudo
I don't really want to have to remember or have passwords for the server so I will switch sudo to be passwordless. To do this we will run sudo visudo & change the below line:
%sudo ALL=(ALL:ALL) ALL
to
%sudo ALL=(ALL:ALL) NOPASSWD:ALL
and save the file using CTRL+X.
Copying ssh-key
On Windows / Mac & Linux you can open a terminal and run ssh-keygen to generate a private ( like underwear, never to be shared ) and public ( what you do share ) keys.
Once you have these keys you can use ssh-copy-id to copy the public key to the remote system, if this is not supported then you can manually add the public key to /home/[username]/.ssh/authorized_keys
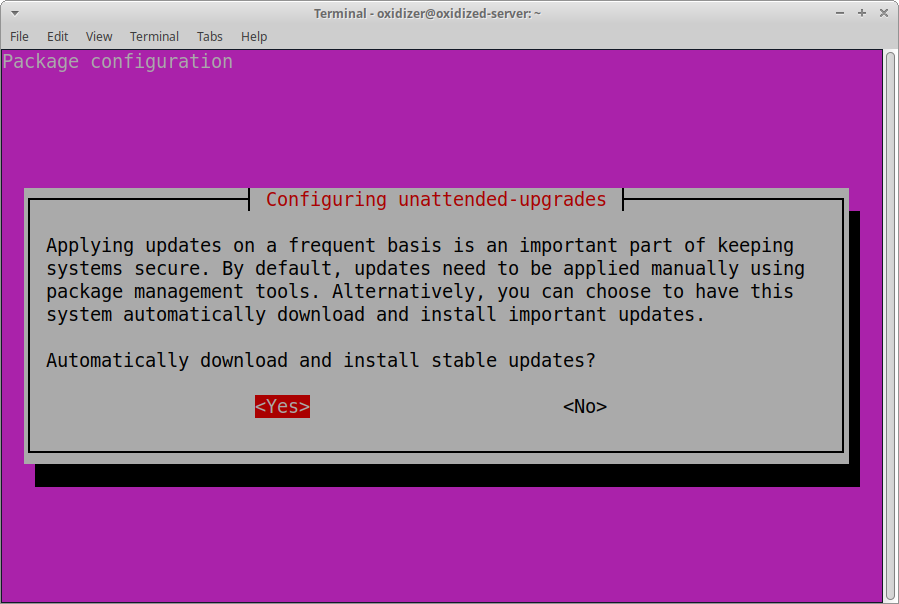
Auto Updates
To keep the server upto date we will want to configure automatic updates. To do this we will ensure the unattended-upgrades package is installed & enable:
sudo apt-get install unattended-upgrades
sudo dpkg-reconfigure --priority=low unattended-upgrades
Using sudo nano /etc/apt/apt.conf.d/50unattended-upgrades we can modify the below setting by removing // to suit a maintence window.
//Unattended-Upgrade::Automatic-Reboot "false";
//Unattended-Upgrade::Automatic-Reboot-WithUsers "true";
//Unattended-Upgrade::Automatic-Reboot-Time "02:00";
We can also change the below line to send an email to the system administrator:
//Unattended-Upgrade::Mail "";
Enabled email via smtp server/relay
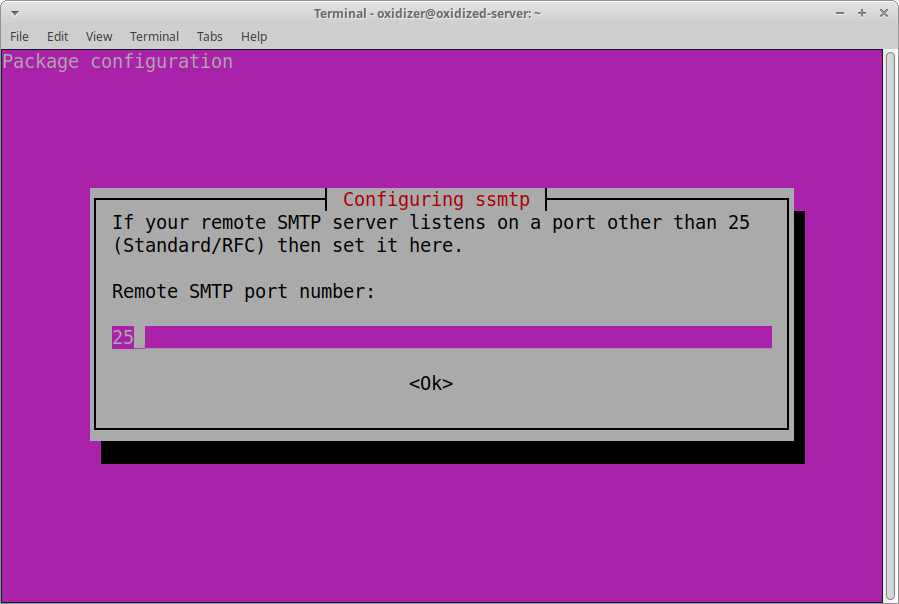
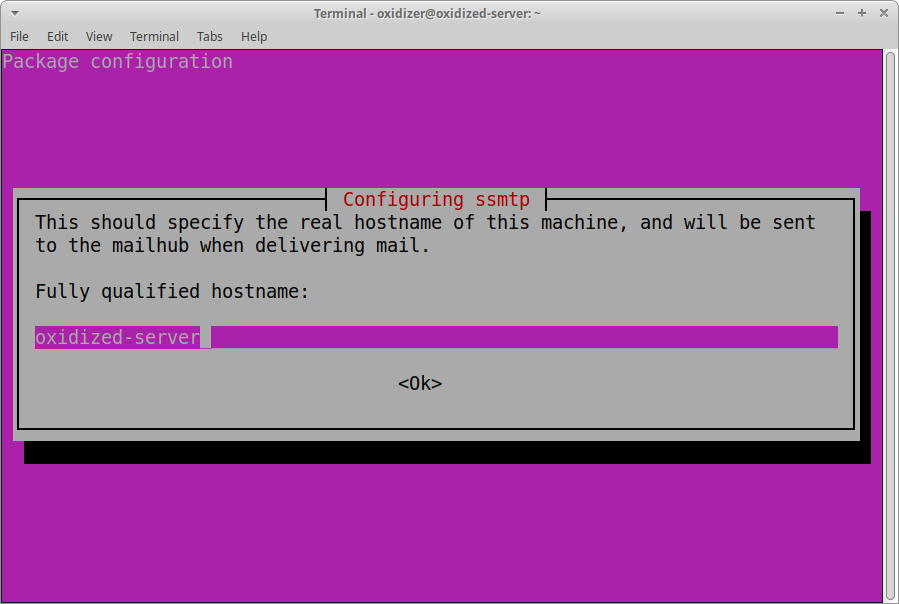
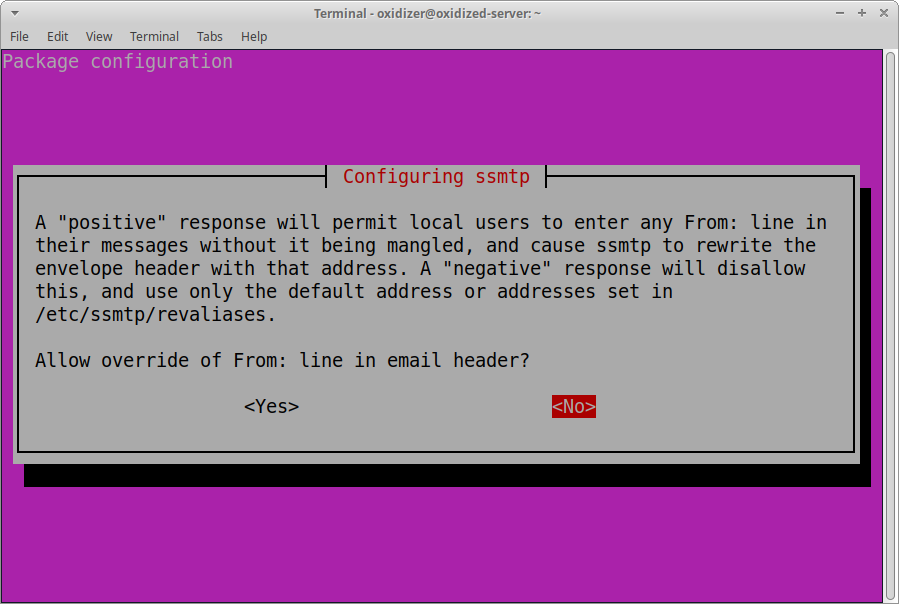
I normally use ssmpt to allow my linux boxes to send emails.
sudo apt-get install ssmtp
sudo dpkg-reconfigure ssmtp
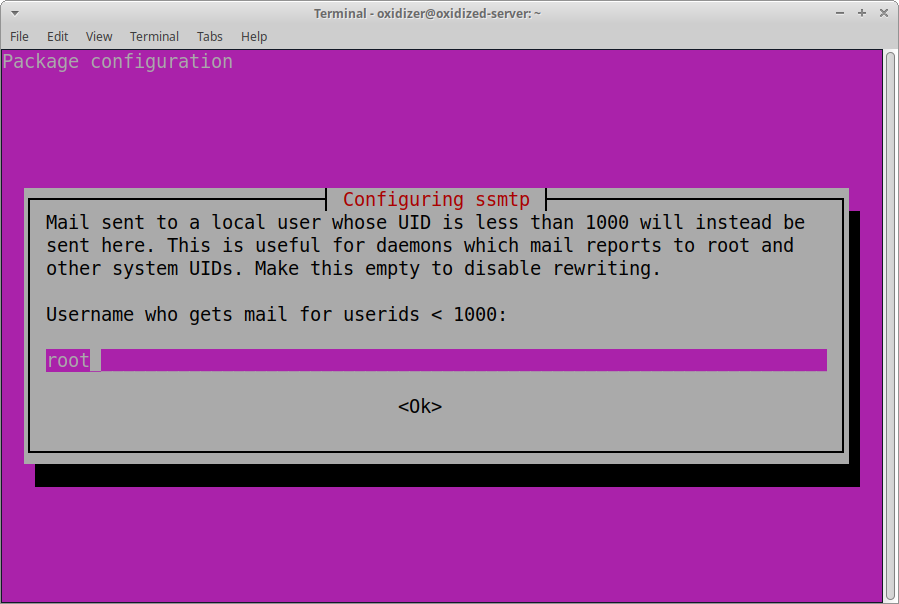

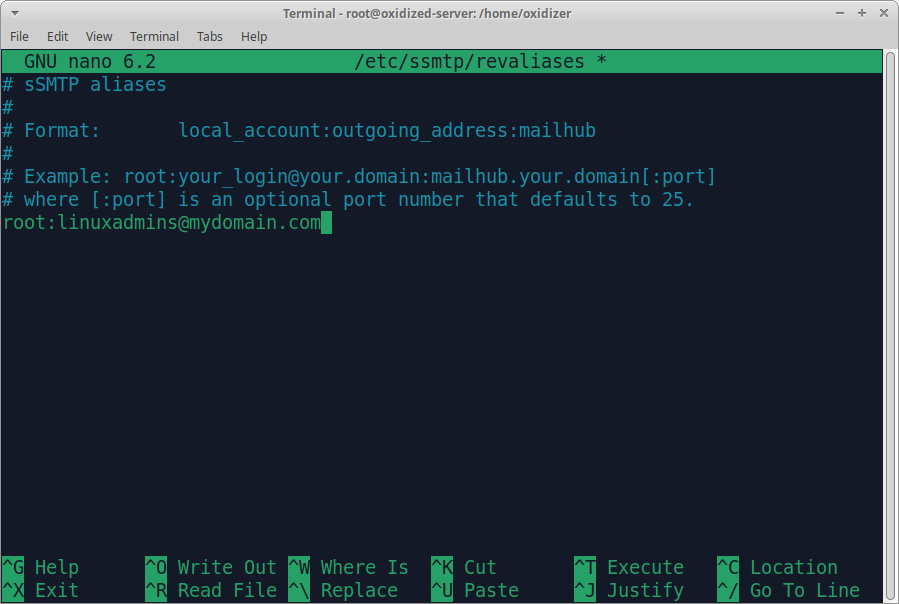
We will then set an address for root's mails to be sent to.
sudo nano /etc/ssmtp/revaliases
Prompting before restart over ssh
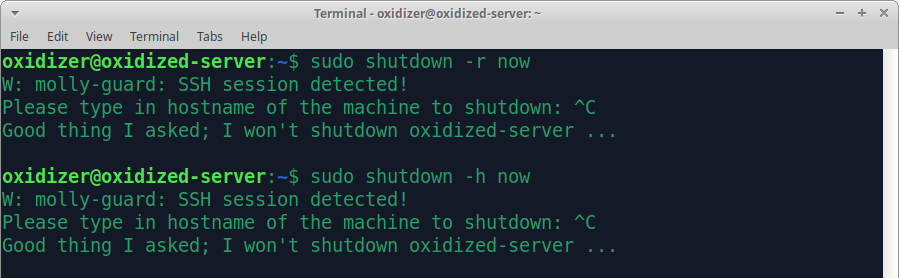
This is something that can save your bacon! Using molly-guard you will be prompted for the server hostname before shutdown/reboot.
sudo apt-get install molly-guard
After this installed you will be prompted to type the servers hostname before a restart/shutdown.
Check for updates and reboot
Finally we will check for updates and reboot to ensure the system is ready to start the application sinatll.
sudo apt-get update && sudo apt-get dist-upgrade -y
sudo shutdown -r now
Next, Oxidized setup
That is it for now, check out the next post for the Oxidized setup !