
In Part 1 we installed Ubuntu Server and did some quick configuration ready for the install & setup of Oxidized.
Installation
Install dependencies
We will need to install some extra packages to allow us to run Oxidized and it's webserver.
sudo apt-get install ruby ruby-dev libsqlite3-dev libssl-dev pkg-config cmake libssh2-1-dev libicu-dev zlib1g-dev g++ libyaml-dev
Although the GitHub pages says we need to enable the
universerepository we do not need to do this as it is already enabled in ubuntu.
Install Oxidized
Now that we have the dependicies installed we can use gem (ruby package manager) to install Oxidized and it's webserver.
sudo gem install oxidized
sudo gem install oxidized-script oxidized-web
Configuration
Now that we have Oxidized installed we need to do some configuration.
Create an oxidized user account
It is recomended that we do not run Oxidized as root so we will create a new user.
sudo useradd -m -d /opt/oxidized -s /bin/bash oxidized
This creates the users home directory under /opt to keep it seperate from user logins.
Create initial config
To create the initial configuration we switch to the oxidized user account and run the oxidized command once:
sudo su - oxidized
oxidized
 edit ~/.config/oxidized/config
The default configuration can been seen below, the username and password values are the default credentials it uses to connect to your devices.
---
username: username
password: password
model: junos
resolve_dns: true
interval: 3600
use_syslog: false
debug: false
run_once: false
threads: 30
use_max_threads: false
timeout: 20
retries: 3
prompt: !ruby/regexp /^([\w.@-]+[#>]\s?)$/
rest: 127.0.0.1:8888
next_adds_job: false
vars: {}
groups: {}
group_map: {}
models: {}
pid: "/opt/oxidized/.config/oxidized/pid"
crash:
  directory: "/opt/oxidized/.config/oxidized/crashes"
  hostnames: false
stats:
  history_size: 10
input:
  default: ssh, telnet
  debug: false
  ssh:
    secure: false
  ftp:
    passive: true
  utf8_encoded: true
output:
  default: file
source:
  default: csv
model_map:
  juniper: junos
  cisco: ios
Setting the source file
using nano we can edit this file and add the source csv file details.
nano ~/.config/oxidized/config
Before
source:
  default: csv
After
source:
  default: csv
  csv:
    file: ~/.config/oxidized/router.db
    delimiter: !ruby/regexp /:/
    map:
      name: 0
      model: 1
Populating source file
using nano we populate the source file
nano ~/.config/oxidized/router.db

Setting the output
using nano we can edit this file and change the output to git. If you use file you will not keep previous versions of backups, with git it will keep versions.
nano ~/.config/oxidized/config
Before
output:
  default: file
After
output:
  default: git
  git:
      user: Oxidized
      email: oxidized@example.com
      repo: "~/.config/oxidized/oxidized.git"
Running the application to test
We can then run oxidized to check that applications runs.
oxidized
If eveything is setup correctly the server will run and console will output:
I, [2024-04-23T21:57:15.376136 #9440]  INFO -- : Oxidized starting, running as pid 9440
I, [2024-04-23T21:57:15.376766 #9440]  INFO -- : lib/oxidized/nodes.rb: Loading nodes
I, [2024-04-23T21:57:15.453262 #9440]  INFO -- : lib/oxidized/nodes.rb: Loaded 1 nodes
Puma starting in single mode...
* Version 3.11.4 (ruby 3.0.2-p107), codename: Love Song
* Min threads: 0, max threads: 16
* Environment: development
* Listening on tcp://127.0.0.1:8888
Use Ctrl-C to stop
If all is good then we can use Ctrl-C to stop the server.
Setup Oxidized as a service
We will now setup Oxidized as service/daemon. To do this we will need to setup a systemd unit.
We will need to create a new file under /etc/systemd/system/oxidized.service with our service config.
sudo nano /etc/systemd/system/oxidized.service
We will then add the below
# Put this file in /etc/systemd/system.
#
# To set OXIDIZED_HOME instead of the default,
# ~oxidized/.config/oxidized, uncomment (and modify as required) the
# "Environment" variable below so systemd sets the correct
# environment.

[Unit]
Description=Oxidized - Network Device Configuration Backup Tool
After=network-online.target multi-user.target
Wants=network-online.target

[Service]
ExecStart=/usr/local/bin/oxidized
User=oxidized
KillSignal=SIGKILL
#Environment="OXIDIZED_HOME=/etc/oxidized"
Restart=on-failure
RestartSec=300s

[Install]
WantedBy=multi-user.target
We will then enable the service
sudo systemctl enable oxidized
And finally start it
sudo service oxidized start
To check the service is running we can use systemctl.
systemctl status oxidized -l
Which will show the status and part of the log file.
● oxidized.service - Oxidized - Network Device Configuration Backup Tool
     Loaded: loaded (/etc/systemd/system/oxidized.service; enabled; vendor pres>
     Active: active (running) since Tue 2024-04-23 22:05:25 UTC; 5min ago
   Main PID: 9544 (oxidized)
      Tasks: 6 (limit: 4558)
     Memory: 41.7M
        CPU: 662ms
     CGroup: /system.slice/oxidized.service
             └─9544 "puma 3.11.4 (tcp://127.0.0.1:8888) [/]" "" ""

Apr 23 22:06:07 oxidized-server oxidized[9544]: W, [2024-04-23T22:06:07.201136 >
Apr 23 22:06:27 oxidized-server oxidized[9544]: W, [2024-04-23T22:06:27.248653 >
Apr 23 22:06:47 oxidized-server oxidized[9544]: W, [2024-04-23T22:06:47.252771 >
Apr 23 22:06:48 oxidized-server oxidized[9544]: W, [2024-04-23T22:06:48.191452 >
Apr 23 22:07:08 oxidized-server oxidized[9544]: W, [2024-04-23T22:07:08.214618 >
Apr 23 22:07:28 oxidized-server oxidized[9544]: W, [2024-04-23T22:07:28.217285 >
Apr 23 22:07:28 oxidized-server oxidized[9544]: W, [2024-04-23T22:07:28.899997 >
Apr 23 22:07:48 oxidized-server oxidized[9544]: W, [2024-04-23T22:07:48.911856 >
Apr 23 22:08:09 oxidized-server oxidized[9544]: W, [2024-04-23T22:08:09.129964 >
Apr 23 22:08:09 oxidized-server oxidized[9544]: W, [2024-04-23T22:08:09.222590 >
You can also use journalctl to check the log file
journalctl -xa -u oxidized
output:
Apr 23 22:05:25 oxidized-server systemd[1]: Started Oxidized - Network Device Configuration Backup Tool.
░░ Subject: A start job for unit oxidized.service has finished successfully
░░ Defined-By: systemd
░░ Support: http://www.ubuntu.com/support
░░
░░ A start job for unit oxidized.service has finished successfully.
░░
░░ The job identifier is 798.
Apr 23 22:05:25 oxidized-server oxidized[9544]: I, [2024-04-23T22:05:25.997788 #9544]  INFO -- : Oxidized starting, running as pid 9544
Apr 23 22:05:26 oxidized-server oxidized[9544]: I, [2024-04-23T22:05:25.998399 #9544]  INFO -- : lib/oxidized/nodes.rb: Loading nodes
Apr 23 22:05:26 oxidized-server oxidized[9544]: I, [2024-04-23T22:05:26.076113 #9544]  INFO -- : lib/oxidized/nodes.rb: Loaded 1 nodes
Apr 23 22:05:26 oxidized-server oxidized[9544]: Puma starting in single mode...
Apr 23 22:05:26 oxidized-server oxidized[9544]: * Version 3.11.4 (ruby 3.0.2-p107), codename: Love Song
Apr 23 22:05:26 oxidized-server oxidized[9544]: * Min threads: 0, max threads: 16
Apr 23 22:05:26 oxidized-server oxidized[9544]: * Environment: development
Apr 23 22:05:26 oxidized-server oxidized[9544]: * Listening on tcp://127.0.0.1:8888
Apr 23 22:05:26 oxidized-server oxidized[9544]: Use Ctrl-C to stop
Apr 23 22:05:46 oxidized-server oxidized[9544]: W, [2024-04-23T22:05:46.379066 #9544]  WARN -- : 192.168.0.1 raised Net::SSH::ConnectionTimeout (rescued RuntimeError) with msg "Net::SSH::ConnectionTimeout"
Apr 23 22:06:06 oxidized-server oxidized[9544]: W, [2024-04-23T22:06:06.387470 #9544]  WARN -- : 192.168.0.1 raised Net::OpenTimeout (rescued Timeout::Error) with msg "timed out while opening a connection to the host"
........................
Seting up nginx
We will use nginx to run a webserver to allow remote access and protect it with a username and password.
Installing nginx
We will use apt-get to install nginx using the below command which updates our software list and gets the nginx package. The apache2-utils package is required for htpasswd.
sudo apt-get update && sudo apt-get install nginx apache2-utils
Type y to proceed with the install once apt-get prompts.
Configuring nginx
We need to configure nginx as a reverse proxy. To do this we will first remove the default site from sites-enabled (this is only a symbolic link / shortcut & we are not deleting the default config).
sudo rm /etc/nginx/sites-enabled/default
We will then create our config
sudo nano /etc/nginx/sites-available/oxidized
and paste in the following configuration. This uses a self-signed certificate but is more secure than running over plain http.
server {
	listen		443 ssl;
	listen		[::]:443 ssl;
	server_name	_;
	root		/var/www/html/;

	ssl_certificate     /etc/nginx/ssl/server.cert;
	ssl_certificate_key /etc/nginx/ssl/server.key;
	ssl_protocols       TLSv1 TLSv1.1 TLSv1.2;
	ssl_ciphers         HIGH:!aNULL:!MD5;

	access_log /var/log/nginx/oxidized_access.log;
	error_log /var/log/nginx/oxidized_error.log;

	auth_basic	"Restricted Access";
	auth_basic_user_file	/etc/nginx/.oxidized_users;

	include /etc/nginx/default.d/*.conf;

	location / {
		proxy_pass http://127.0.0.1:8888/;
	}
}
We will now create our self-signed certificate, first we need to make a folder to hold the cert & key.
sudo mkdir -pv /etc/nginx/ssl
Next we use openssl to generate the cert & key.
sudo openssl req -x509 -nodes -days 365 -newkey rsa:2048 -keyout /etc/nginx/ssl/server.key -out /etc/nginx/ssl/server.cert
When you run this you will be prompted to enter some details, as this is private you can just leave blank or put in dummy data.
-----
You are about to be asked to enter information that will be incorporated
into your certificate request.
What you are about to enter is what is called a Distinguished Name or a DN.
There are quite a few fields but you can leave some blank
For some fields there will be a default value,
If you enter '.', the field will be left blank.
-----
Country Name (2 letter code) [AU]:GB
State or Province Name (full name) [Some-State]:London
Locality Name (eg, city) []:London
Organization Name (eg, company) [Internet Widgits Pty Ltd]:MyOrg
Organizational Unit Name (eg, section) []:IT
Common Name (e.g. server FQDN or YOUR name) []:oxidized-server.mylab.home
Email Address []:admin@oxidized-server.mylab.home
Next we will link our config into sites-enabled which tells nginx to use our config.
sudo ln -s /etc/nginx/sites-available/oxidized /etc/nginx/sites-enabled/
Now we will create a username and password to access the site using htpasswd.
sudo htpasswd -c /etc/nginx/.oxidized_users oxidized
You should be prompted to enter a password and then confirm.
New password:
Re-type new password:
Adding password for user oxidized
Once done we check that nginx is happy with our config.
sudo nginx -t
If as below the check completes without errors we can proceed to enable & start the service, if not we will need to fix any errors.
nginx: the configuration file /etc/nginx/nginx.conf syntax is ok
nginx: configuration file /etc/nginx/nginx.conf test is successful
Starting nginx
Let's enable the nginx service.
sudo systemctl enable nginx
Output:
Synchronizing state of nginx.service with SysV service script with /lib/systemd/systemd-sysv-install.
Executing: /lib/systemd/systemd-sysv-install enable nginx
And now let us start the service.
sudo service nginx start
Let us check the service is running.
sudo service nginx status
● nginx.service - A high performance web server and a reverse proxy server
     Loaded: loaded (/lib/systemd/system/nginx.service; enabled; vendor preset: enabled)
     Active: active (running) since Tue 2024-04-23 22:18:42 UTC; 17min ago
       Docs: man:nginx(8)
   Main PID: 10431 (nginx)
      Tasks: 3 (limit: 4558)
     Memory: 5.2M
        CPU: 28ms
     CGroup: /system.slice/nginx.service
             ├─10431 "nginx: master process /usr/sbin/nginx -g daemon on; master_process on;"
             ├─10434 "nginx: worker process" "" "" "" "" "" "" "" "" "" "" "" "" "" "" "" "" "" "" "" "" "" "" "" "" "" "" ""
             └─10435 "nginx: worker process" "" "" "" "" "" "" "" "" "" "" "" "" "" "" "" "" "" "" "" "" "" "" "" "" "" "" ""

Apr 23 22:18:42 oxidized-server systemd[1]: Starting A high performance web server and a reverse proxy server...
Apr 23 22:18:42 oxidized-server systemd[1]: Started A high performance web server and a reverse proxy server.
Testing the web frontend
Once running we can point our web browser to https://{Server-ip-address} , as we are using a self-signed certificate we will be warned but can continue past this.

We will then need to enter the username/password we set with htpasswd.

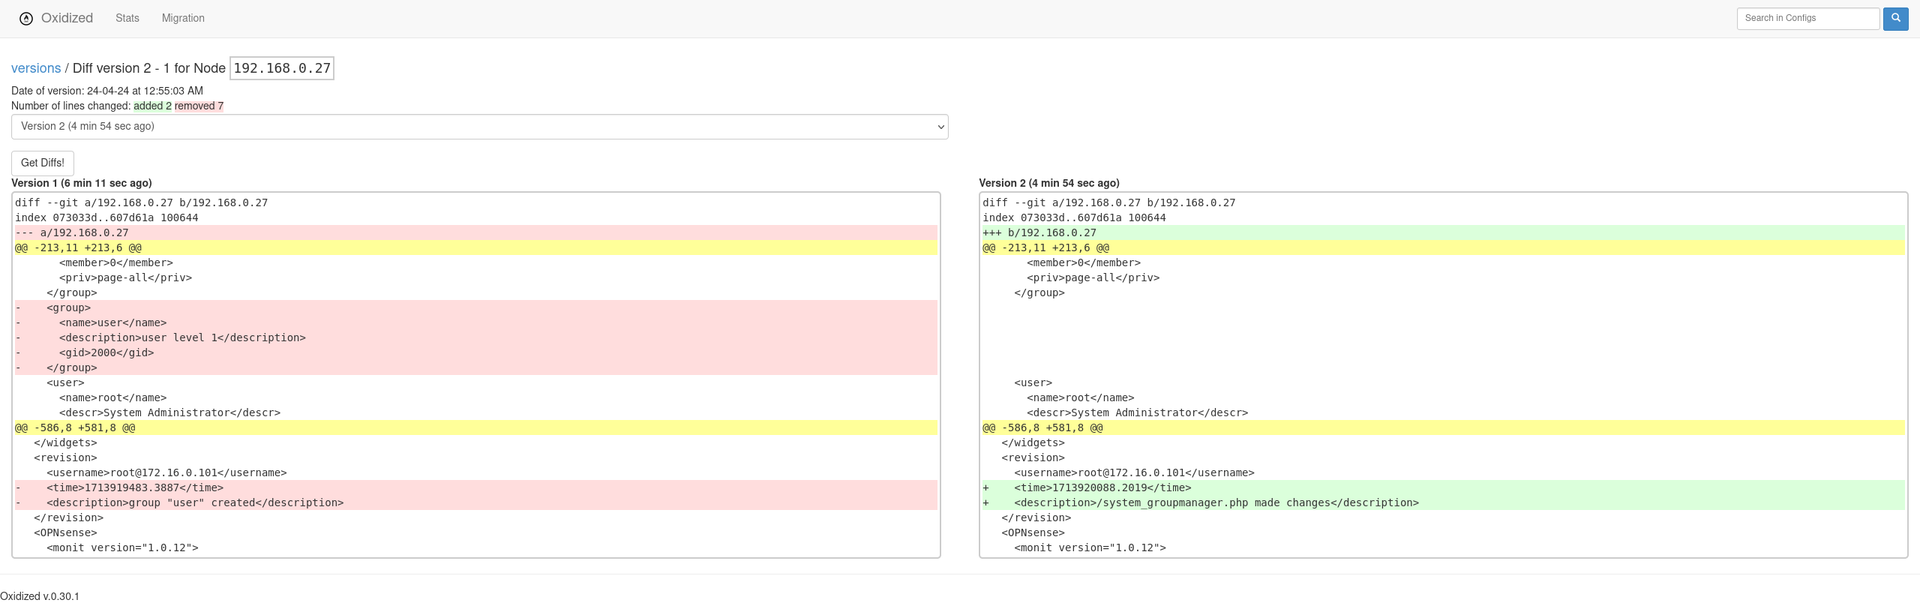
Once logged in we can see the web frontend for oxidized

Extra: create a Certficate Signing Request
If you have a Certificate Authority you can generate a Certificate Signing Request or CSR using the below command.
openssl req -new -newkey rsa:2048 -nodes -keyout oxidized.key -out oxidized.csr
You will then need to provide the required information, once you run through the wizard you should have 2 files
-rw-rw-r-- 1 oxidizer oxidizer  956 Apr 23 22:55 oxidized.csr
-rw------- 1 oxidizer oxidizer 1704 Apr 23 22:55 oxidized.key
Provide the oxidized.csr to your Certificate Authority, they should then return a signed certificate. Once you have this you can updated your nginx configuration. Create a new directory for the signed cert sudo mkdir -pv /etc/nginx/ssl/signed and copy in the key file you generated and the signed certificate from your Certificate Authority and update your /etc/nginx/sites-available/oxidized config file to point to the new file.
If it is an internal CA or you get chain issues you will need to combind the certificate returned, intermidiate &/ Certificate Authority Cert into a bundle.
cat certificate.crt YourCA.crt >> bundle.crt
You will then need to use this file as the ssl_certificate.
Thanks!
Thanks for reading & I hope you find this useful.